
Unlocking the Power of 4K: Tips and Tricks for Shooting High-Quality Video
Imagine standing on the edge of a cliff overlooking a vast landscape, capturing every intricate detail from the vibrant foliage colors to the subtle movements of the clouds dancing across the sky.
This is the power of 4K video: an immersive experience that brings your content to life in stunning clarity and depth.

As a videographer or filmmaker, you understand that harnessing this potential can elevate your work. With these tips and tricks for shooting high-quality 4K videos, you can unlock the true power of this exceptional format.
In this article, we will guide you through the process of how to shoot in 4K, including selecting the right camera and lenses for optimal 4K recording, mastering lighting and composition techniques to enhance your footage, understanding frame rates and resolution settings, achieving smooth and stable shots, editing with post-production best practices in mind, and finally exporting and sharing your videos for maximum impact.
With this knowledge, you’ll be well-equipped to create visual masterpieces that captivate audiences worldwide.
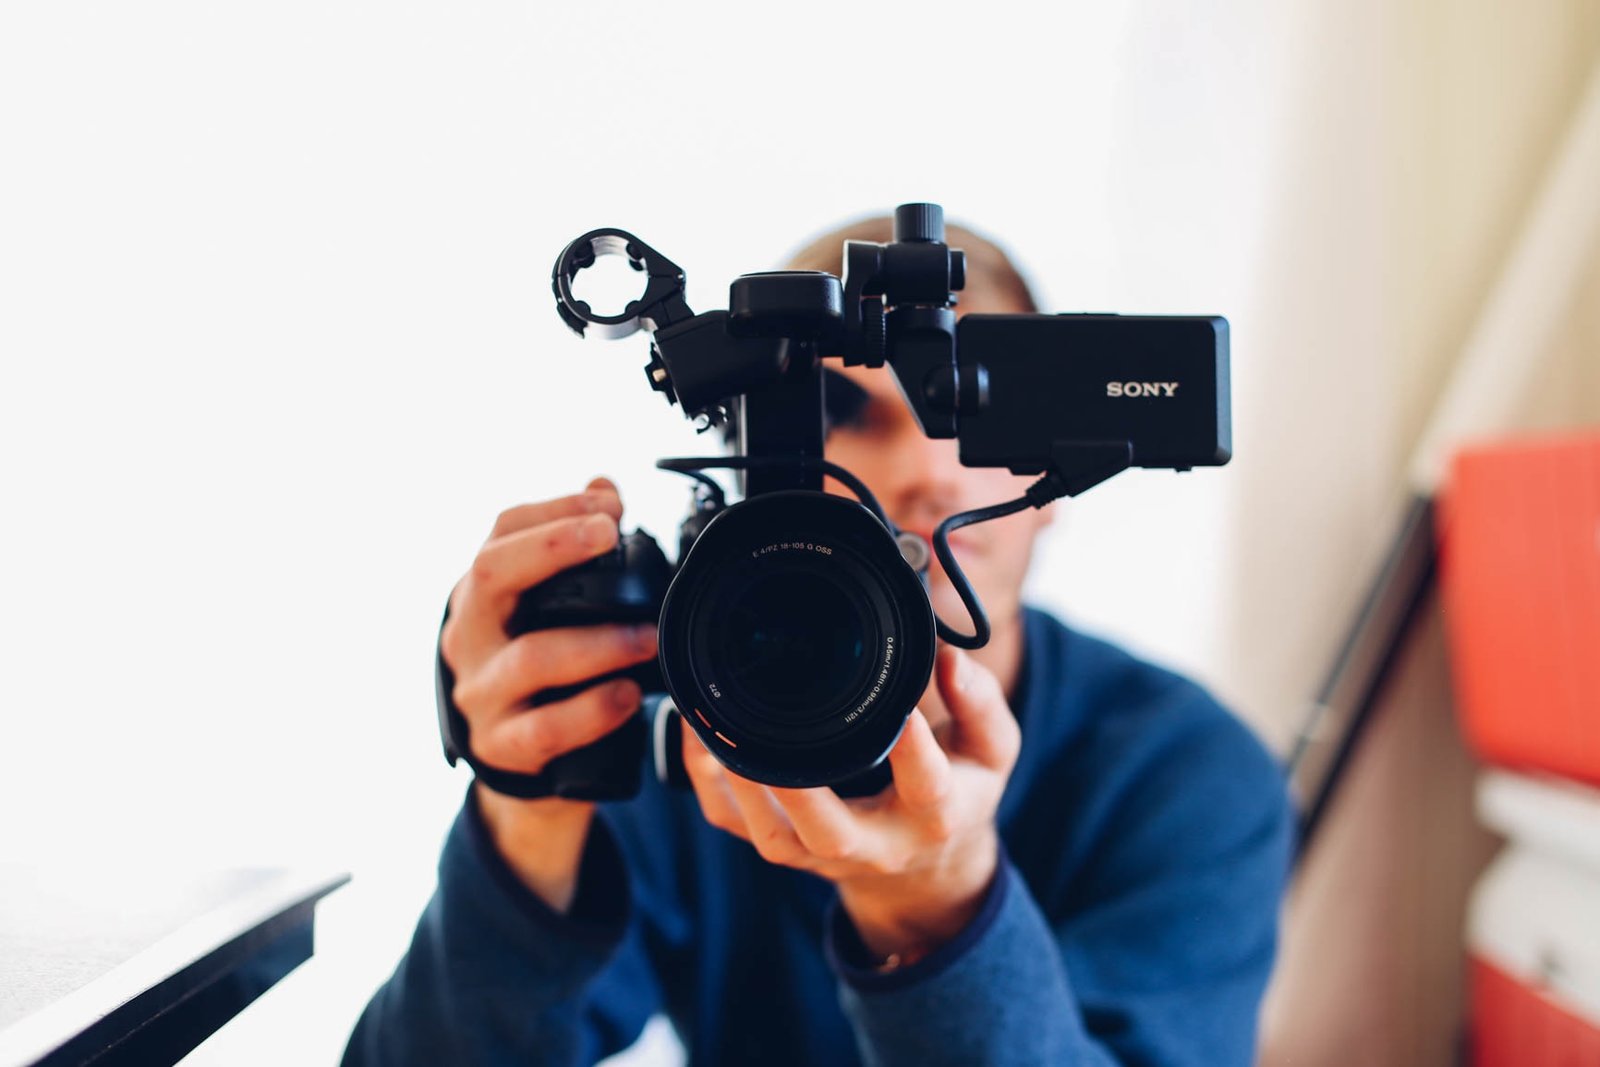
Choosing the Right Camera for 4K Recording
Now that you’re ready to dive into the world of 4K recording let’s help you find the perfect camera for your needs.
The first thing to consider when choosing a camera is its sensor size and type. A larger sensor can capture more light, improving image quality, especially in low-light situations. Different sensor types, like CMOS or CCD, can affect dynamic range, color reproduction, and noise performance. Regarding resolution and frame rates, make sure your chosen camera can record at least 3840 x 2160 pixels (also known as Ultra HD or UHD) resolution. Higher resolutions like DCI 4K (4096×2160) may benefit specialized applications but are unnecessary for most users.
Regarding frame rates, look for cameras that offer at least 24 fps (frames per second) for a cinematic look or higher frame rates like 60 fps if you plan on capturing fast action or slow-motion footage. Don’t forget to check the available video codecs and bitrates; these factors significantly impact your final video quality and file sizes.
Another essential aspect to consider is your budget and workflow preferences. Do you prefer an all-in-one camcorder with built-in lenses? Or perhaps an interchangeable lens system like a DSLR or mirrorless camera offers more flexibility?
Consider other features such as autofocus capabilities, image stabilization options, external microphone inputs, and HDMI output ports for monitoring purposes, depending on what matters most for your specific projects. These factors ensure you choose the right camera that meets your technical requirements and creative visions. With that said, let’s move on to selecting lenses that enhance your footage even further!
Selecting Lenses That Enhance Your Footage
Choosing the right lenses can elevate your 4K footage, so let’s dive into some options to make your visuals stand out. First and foremost, consider investing in a set of prime lenses with a wide aperture (f/1.8 or lower), as they offer better low-light performance and shallower depth of field than zoom lenses. This will enable you to achieve a more cinematic look with beautiful bokeh effects, making objects in focus pop against their backgrounds. Additionally, prime lenses often deliver sharper image quality due to fewer glass elements inside them than zoom lenses.
When selecting the focal length(s) for your lens collection, consider the types of shots you typically want to capture. For example, if you plan on shooting landscapes or real estate videos where wider angles are needed, opt for a wide-angle lens in the 14mm–24mm range. Conversely, if capturing close-ups or interviews is more your style, go for standard focal lengths like the 35mm–50mm range. Remember that using longer focal lengths, such as 85mm–200mm, can be great for achieving an even shallower depth of field and isolating subjects from their environment.
Don’t forget about specialty lenses that can add unique visual flair to your footage—think fisheye or macro lenses for extreme perspectives and close-ups, respectively. Remember that the quality of your glass plays a significant role in how well it resolves detail when paired with a high-resolution camera, like one capable of capturing 4K video.
As you continue honing your videography skills and expanding your toolkit, mastering the art of lighting and composition will also play an essential role in bringing out the best in these powerful tools.
Mastering the Art of Lighting and Composition
Mastering the art of lighting and composition is crucial to truly bring your 4K footage to life, as it enhances your subjects and sets the mood for captivating storytelling. You can use lighting to create depth, drama, and atmosphere in your shots by implementing a few key techniques.
Additionally, understanding composition principles will aid you in framing your subjects in an aesthetically pleasing manner that draws viewers into the story. Here are some essential tips to keep in mind:
- Three-point lighting: This classic technique consists of three light sources: a key light (the main source), a fill light (the secondary source), and a backlight (which separates the subject from the background). Experiment with these lights’ intensity, angle, and distance to achieve various moods.
- Natural lighting: When shooting outdoors or near windows, be mindful of how sunlight interacts with your scene. Consider using reflectors or diffusers to manipulate natural light sources.
- Rule of thirds: Divide your frame into nine equal parts by imagining two equally-spaced horizontal lines and two equally-spaced vertical lines. Position important elements along these lines or their intersections for visually pleasing compositions.
- Leading lines: Use architectural features or natural elements such as roads or rivers to guide viewers’ eyes toward focal points within your shot.
Combining these essential tips for lighting and composition with high-quality 4K resolution gives you all the ingredients needed for visually stunning videos that captivate audiences on any screen size. Now that we’ve covered this aspect of filmmaking let’s delve deeper into understanding frame rates and resolution so you can fine-tune every detail of your video content effortlessly.
Understanding Frame Rates and Resolution
You’re ready to dive into the world of frame rates and resolution, ensuring your cinematic vision shines through every pixel and motion in your 4K masterpiece.
When shooting in 4K, you have a resolution of 3840 x 2160 pixels, four times the number of pixels found in Full HD (1920 x 1080). This huge leap in resolution offers greater detail, sharper images, and more opportunities for post-production editing, such as cropping or scaling, without losing quality. However, it’s essential to understand that higher resolution requires more storage space and processing power.

Frame rate refers to the number of individual frames captured per second (fps) during video recording. Common frame rates include 24 fps (used in most films), 30 fps (standard for television), and even 60 fps or higher for creating smooth slow-motion footage.
When choosing a frame rate for your project, consider the desired mood and pacing; for example, a fast-paced action scene may benefit from a higher frame rate, while a dramatic dialogue-driven scene might be better suited to the traditional cinematic look of 24 fps. Additionally, remember that some platforms have specific requirements for frame rates; YouTube, for instance, supports 30 and 60 fps.
Aside from considering the aesthetics of your project when deciding on resolution and frame rates, you should also consider any technical limitations, such as available storage space or computer hardware specifications required for editing high-resolution footage. By understanding these factors beforehand and making informed decisions about your shooting settings, you can ensure that your final product will look stunning and have an efficient workflow throughout the production and post-production processes.
With this foundation under your belt, let’s discuss how you can achieve smooth and stable footage while filming in stunningly sharp detail in our next section!
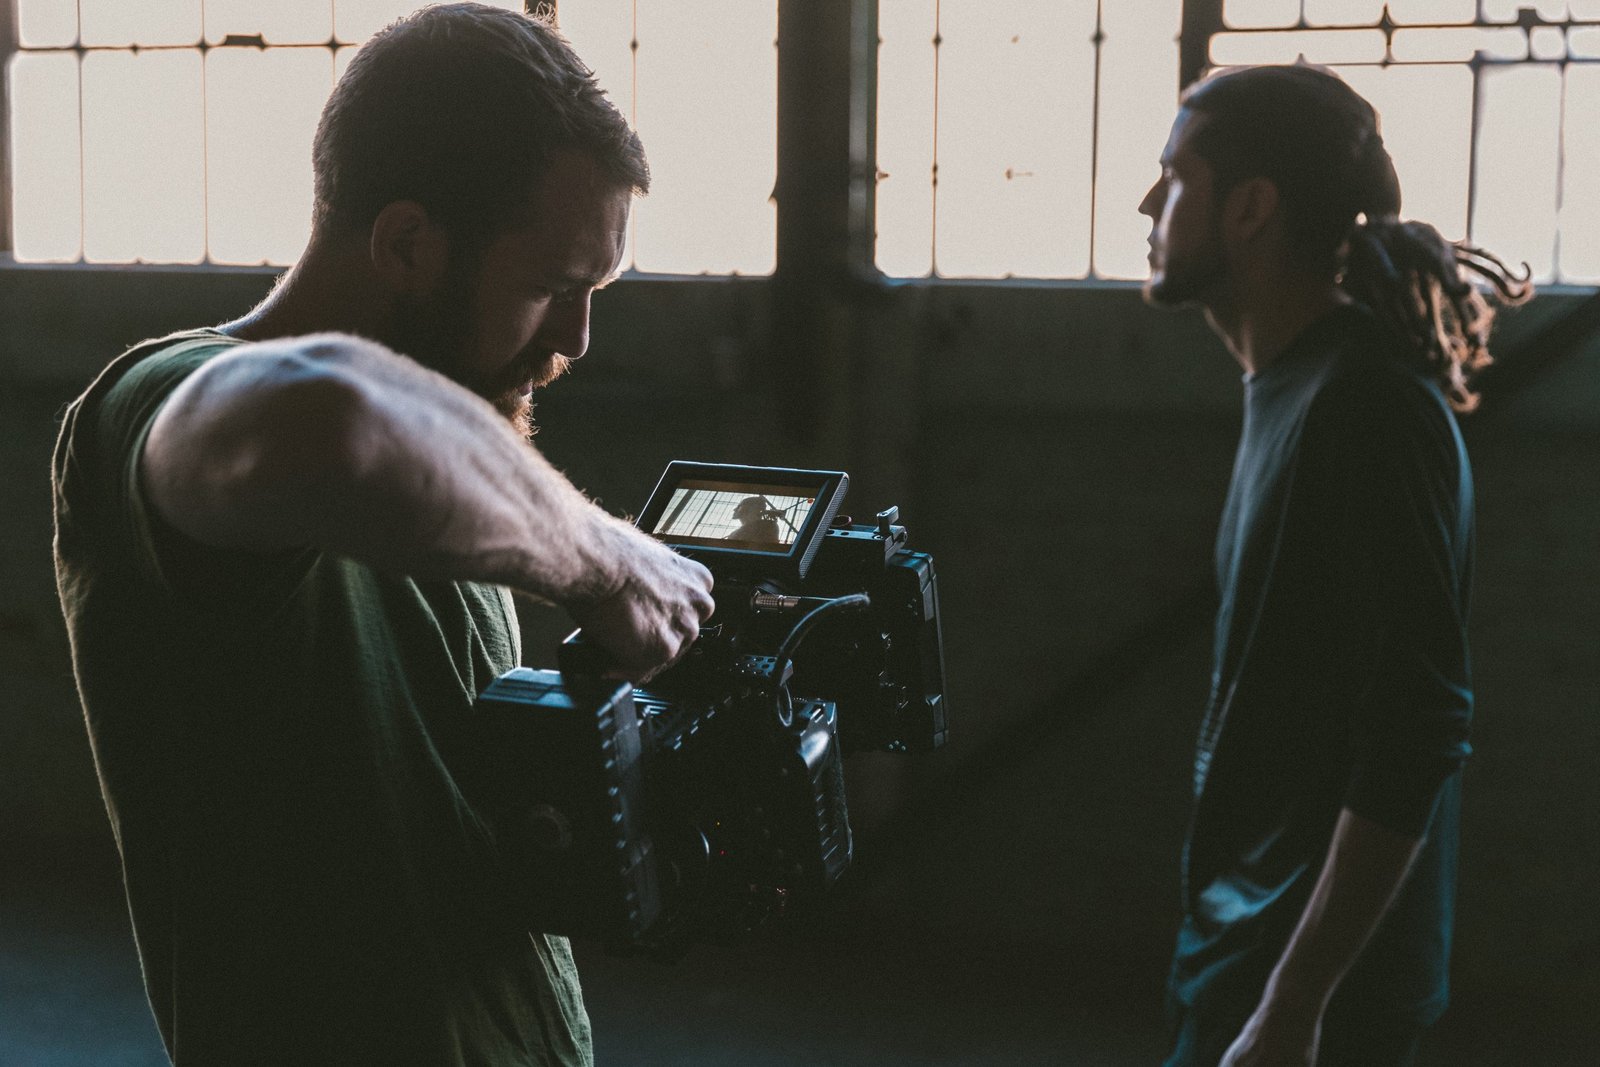
Achieving smooth and stable footage
Get ready to capture mind-blowingly steady and fluid footage that will mesmerize your viewers! To achieve smooth and stable 4K video, you must consider several factors, such as camera movement, stabilization equipment, and shooting techniques. Whether you’re using a DSLR or a cinema camera, understanding these elements will help you produce high-quality content that showcases your storytelling skills.
Firstly, think about the camera movements required for your shots. Are you going for sweeping panoramas or intimate close-ups? Handheld shooting can work well in some circumstances but often results in shaky footage that detracts from the overall quality of your film. Invest in a good-quality gimbal or Steadicam system to avoid this issue, allowing smoother movements with minimal shaking. Enable any built-in image stabilization features within your camera and lenses.
Combine these tools with careful planning of each movement—walking heel-to-toe rather than stomping around will make a significant difference to the stability of your footage. Another crucial aspect of achieving smooth video is mastering manual focus control while filming. Autofocus systems can sometimes struggle to keep up with subjects moving before the lens or be inaccurate when dealing with low-light situations.
You’ll ensure crisp images throughout your video by learning manual focus techniques and practicing pulling focus during complex scenes. Additionally, it’s essential to maintain consistent exposure settings by using ND filters on bright days and ensuring correct white balance at all times; abrupt changes in lighting conditions can result in jarring transitions between shots that distract from the viewing experience.
With these tips under your belt for capturing incredibly smooth 4K footage, it’s time to delve into editing magic! The next section will guide you through essential editing and post-production techniques for bringing out the full potential of your stunning visuals.
Editing and Post-Production Techniques
Now that you’ve captured your breathtaking 4K footage let’s dive into editing and post-production to make your visuals truly shine! First, ensure you have a powerful computer with ample storage space and processing power to handle large 4K video files. When choosing an editing software, be sure it supports 4K resolution and offers advanced color grading tools like Adobe Premiere Pro or DaVinci Resolve.
Organize your footage by creating folders for each scene or location in your project to help streamline the editing process. One crucial aspect of post-production is color grading, which allows you to enhance the overall look of your video by adjusting colors, contrast, and exposure. Utilize LUTs (lookup tables) to achieve a specific visual style or mood in your footage.
Another important technique is noise reduction; shooting in low light can result in visible noise or graininess in your footage. Most professional video editing software provides built-in noise reduction tools that help maintain image quality while minimizing unwanted artifacts. In addition to color grading and noise reduction, consider using visual effects such as motion tracking and keying to enhance storytelling elements within your 4K video projects.
Motion tracking allows you to attach text or objects seamlessly to moving subjects within the frame, whereas keying enables green screen replacement for creating realistic composite scenes. As you finesse these techniques during post-production, remember that attention to detail will set apart an ordinary video from an extraordinary one.
With all these skills under your belt, it’s time to prepare to export and share those jaw-dropping 4K videos with the world!
Exporting and Sharing Your 4K Videos
So you’ve polished your masterpiece, and it’s time to show off those stunning 4K visuals to the world! Exporting and sharing your 4K videos can be tricky, but with the right settings and tools, you can ensure that your audience gets to experience the full power of your high-quality footage.
This guide walks you through essential tips for exporting and sharing your 4K videos without compromising quality.
- Choose the right codec: When exporting your video, choosing the appropriate codec is crucial for maintaining the quality of your 4K footage. H.264 is a popular choice as it provides good compression while preserving detail; however, newer codecs like H.265 (HEVC) offer even better compression rates with minimal loss in quality. Check compatibility with the platforms where you plan to share your video.
- Bitrate matters: A higher bitrate ensures better image quality and results in larger file sizes. For online streaming platforms like YouTube or Vimeo, they recommend a bitrate range between 35 and 68 Mbps for 4K resolution at 30 fps; adjust accordingly if using higher frame rates.
- Don’t forget about the audio! High-quality visuals deserve equally impressive audio! Export using an uncompressed format like WAV or AIFF, or use lossless codecs like FLAC or ALAC when possible.
When sharing your exported video files online, consider uploading directly to platforms like YouTube or Vimeo that support native 4K playback instead of compressing them further before uploading; this way, you can ensure optimal picture quality for viewers watching on capable devices. If sending large files via email or cloud storage services becomes an issue due to size constraints, look into specialized file transfer services such as WeTransfer or Filemail that allow larger file transfers for free or at affordable prices.
Following these steps and keeping visual and technical aspects in mind during export and sharing, you can showcase your 4K masterpiece in all its glory.
Conclusion
So, you’ve got this far in your 4K journey. But wait, there’s more to uncover. Stay tuned as we dive deeper into the world of high-quality video production and reveal secrets that will elevate your work to new heights. Keep pushing the boundaries, exploring new techniques, and mastering the art of 4K video creation. The possibilities are endless. Each step forward unlock even greater potential for awe-inspiring visuals.