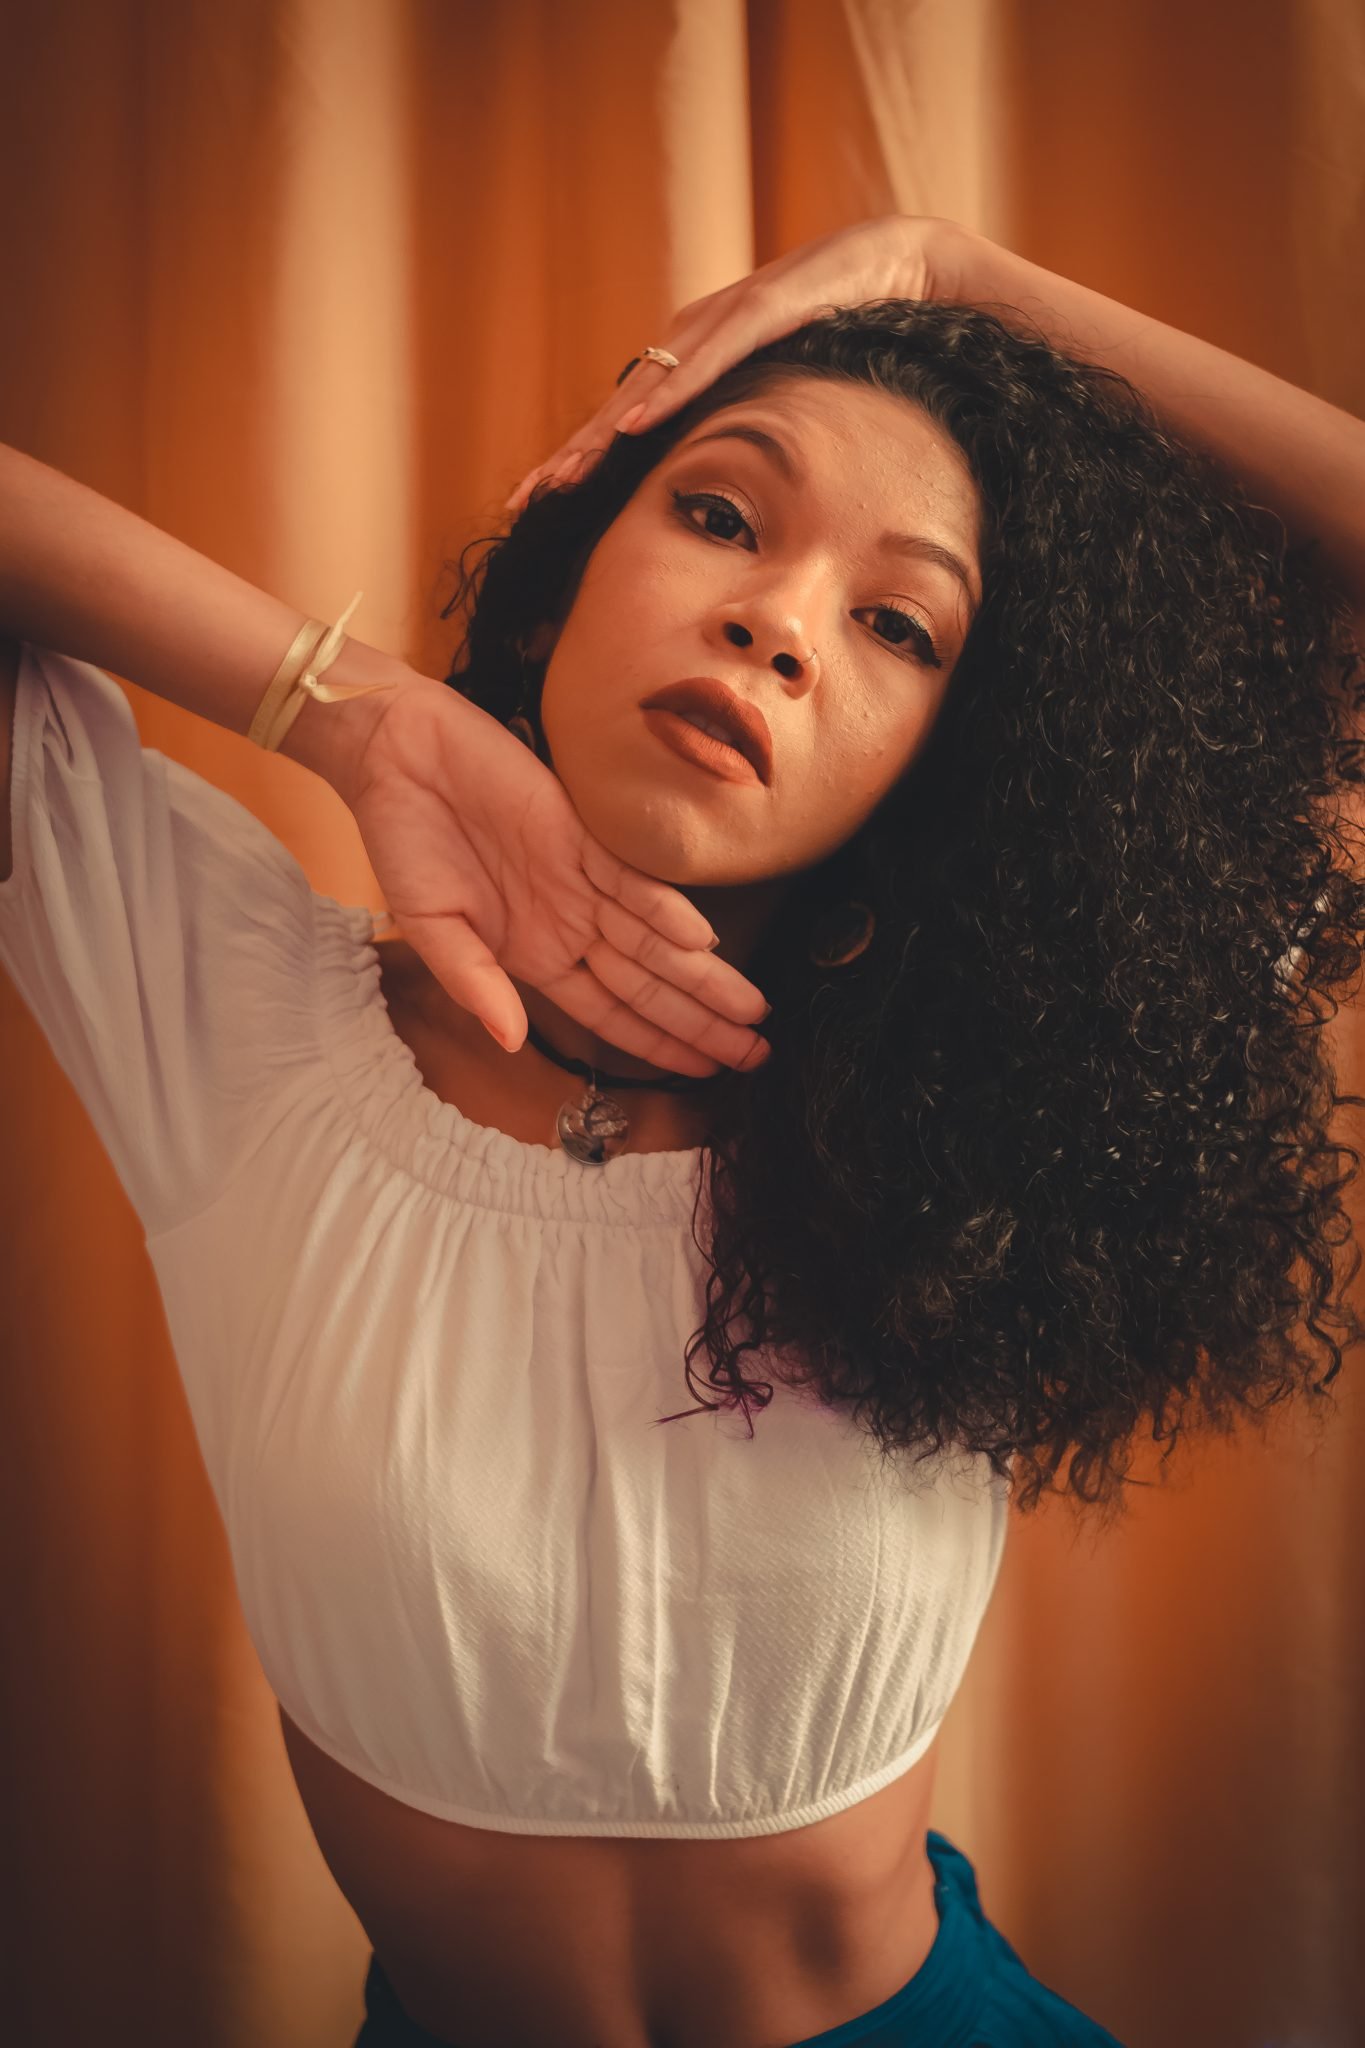
Light plays a crucial role in photography, as it is the main ingredient responsible for creating beautiful images.
Good lighting can make or break a photograph, and having the right kind of light is essential to achieving professional-looking results. Whether you are shooting outdoors or indoors, natural or artificial light, understanding how to use lighting effectively will help you take stunning photos that capture your subject perfectly. In this article, we’ll discuss why good lighting is important when taking professional pictures and provide some helpful tips on how you can get the best results with any type of lighting setup.
1. Choose the Right Type of Bulb
The type of bulb you use can make a huge difference when it comes to taking professional pictures. For example, incandescent bulbs emit a warm, yellowish light that tends to create an inviting atmosphere, making them ideal for portrait photography. On the other hand, fluorescent bulbs are better suited for product photography as they provide soft, even lighting that is perfect for capturing intricate details. Plus, every kind of industrial LED lighting has its own unique benefits and drawbacks that should be considered when setting up the lighting for any type of photography. It’s important to take the time to choose the right bulb for your needs, as this will help you achieve professional-looking results.
2. Adjust the Light Intensity
Another factor that can affect the quality of a photo is the light intensity. If the light is too strong, it may create harsh shadows and glare. On the other hand, if the light is too weak, the photo may be too dark or washed out. Learning how to adjust the intensity of the lights will help you achieve better results when taking pictures. Additionally, using diffusers and reflectors can help soften harsh shadows and create a more even illumination for your subject.

3. Adjust Your Camera Settings According to the Lighting
No matter what kind of light you are using, it is important to take the time to adjust your camera settings in order to get the best results. Depending on the type of light, you may want to adjust the white balance, ISO, shutter speed, and aperture settings. This will help ensure that your photos are properly exposed and accurately depict the colors of your subject.
Your camera’s built-in light meter can be very helpful in determining the best settings for any given lighting situation. Additionally, experimenting with different settings and taking test shots can help you learn what works best for your particular setup.
4. Get Creative With Light Placement
Experimenting with different light placements is a great way to create interesting visual effects in your photos. If you’re working with studio lighting, you can play around with the direction and angle of the light to see how it affects your subject. By moving the lights closer or further away from your subject, you can adjust the intensity of the shadows created by different light sources. You can also use reflectors such as a whiteboard or white piece of paper to bounce light back onto the face or body of your subject.

5. Use Natural Lighting Whenever Possible
When shooting outdoors, take advantage of the natural light available by positioning your subject in the shade or using a reflector to control shadows and highlights. Sunlight can be harsh and create overexposed images, so it’s best to use softer light sources like clouds or diffusers. It’s also important to pay attention to the direction of light and how it affects your subject. If you’re shooting in a studio, pick one with a lot of natural light streaming through windows or skylights so that you can take advantage of the softness of natural light while still controlling the intensity.
6. Edit Your Photos
Even with the best lighting setup, there are still certain aspects of a photo that can be improved through post-processing. For example, if your subject is too dark or washed out, you can use editing software to adjust the brightness and contrast levels. You can also edit colors and add special effects like vignette or blur to create a more artistic look. There are many different editing tools available, so it’s important to practice and experiment in order to find the tools that work best for you.

Lighting plays an essential role in any kind of photography. From choosing the right light bulbs to adjusting the intensity and position of your lights, there are countless ways to achieve beautiful and professional-looking results when taking pictures. With a little practice and experimentation, you can learn how to use different light sources to create stunning images.


