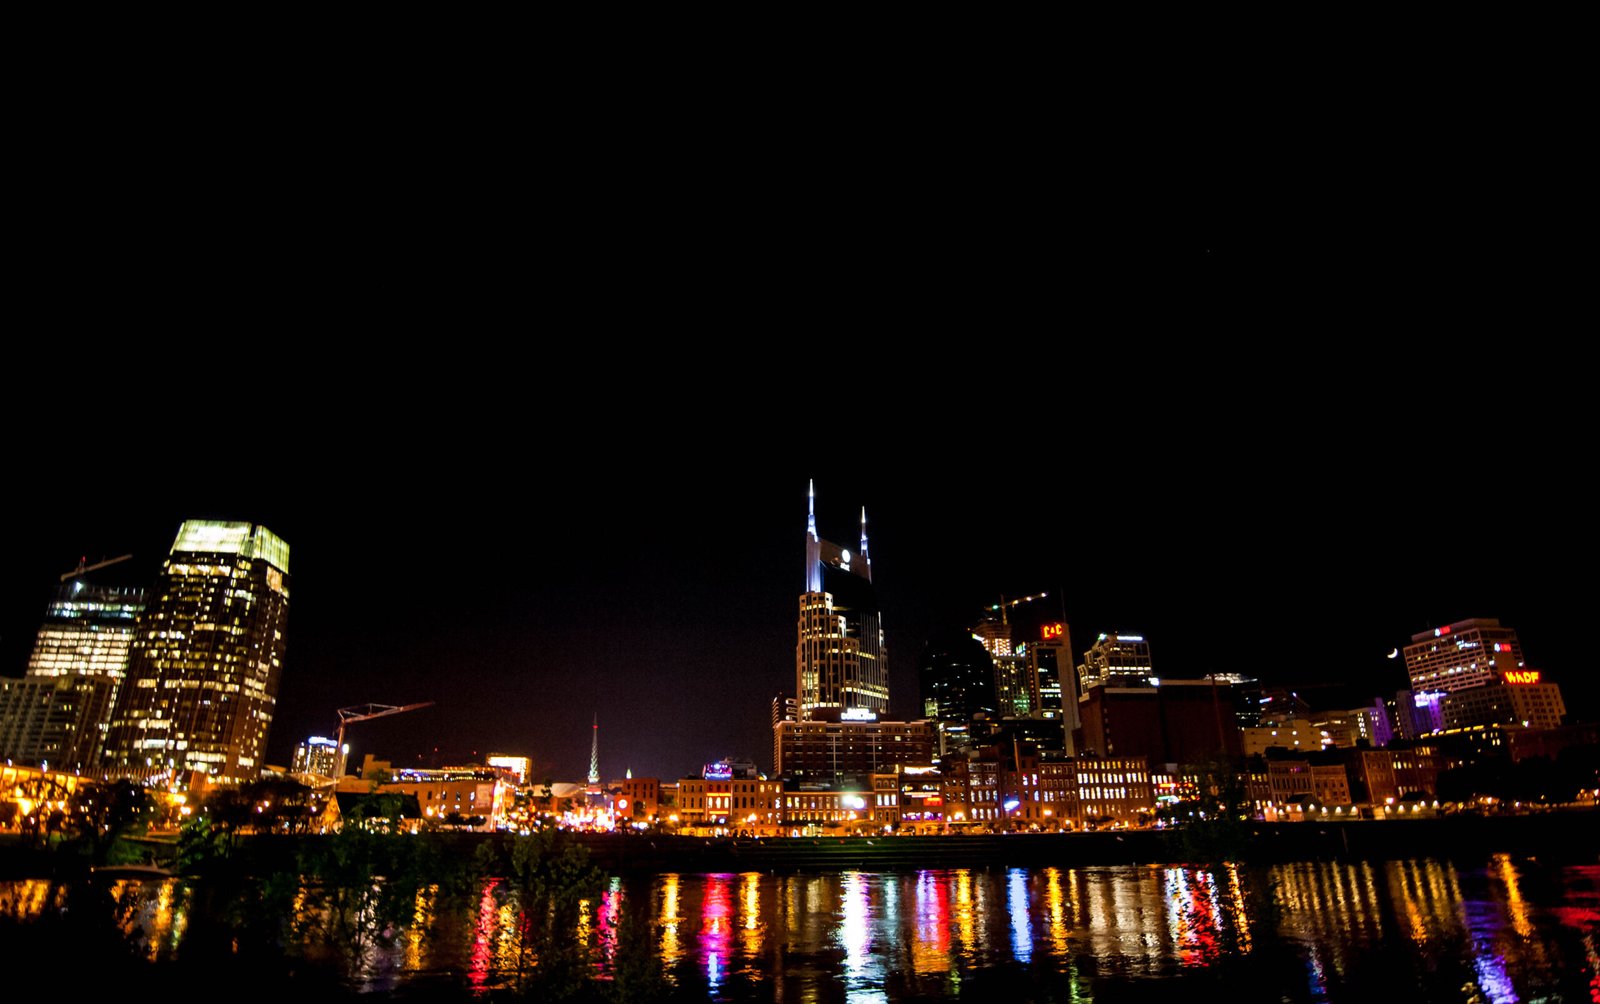
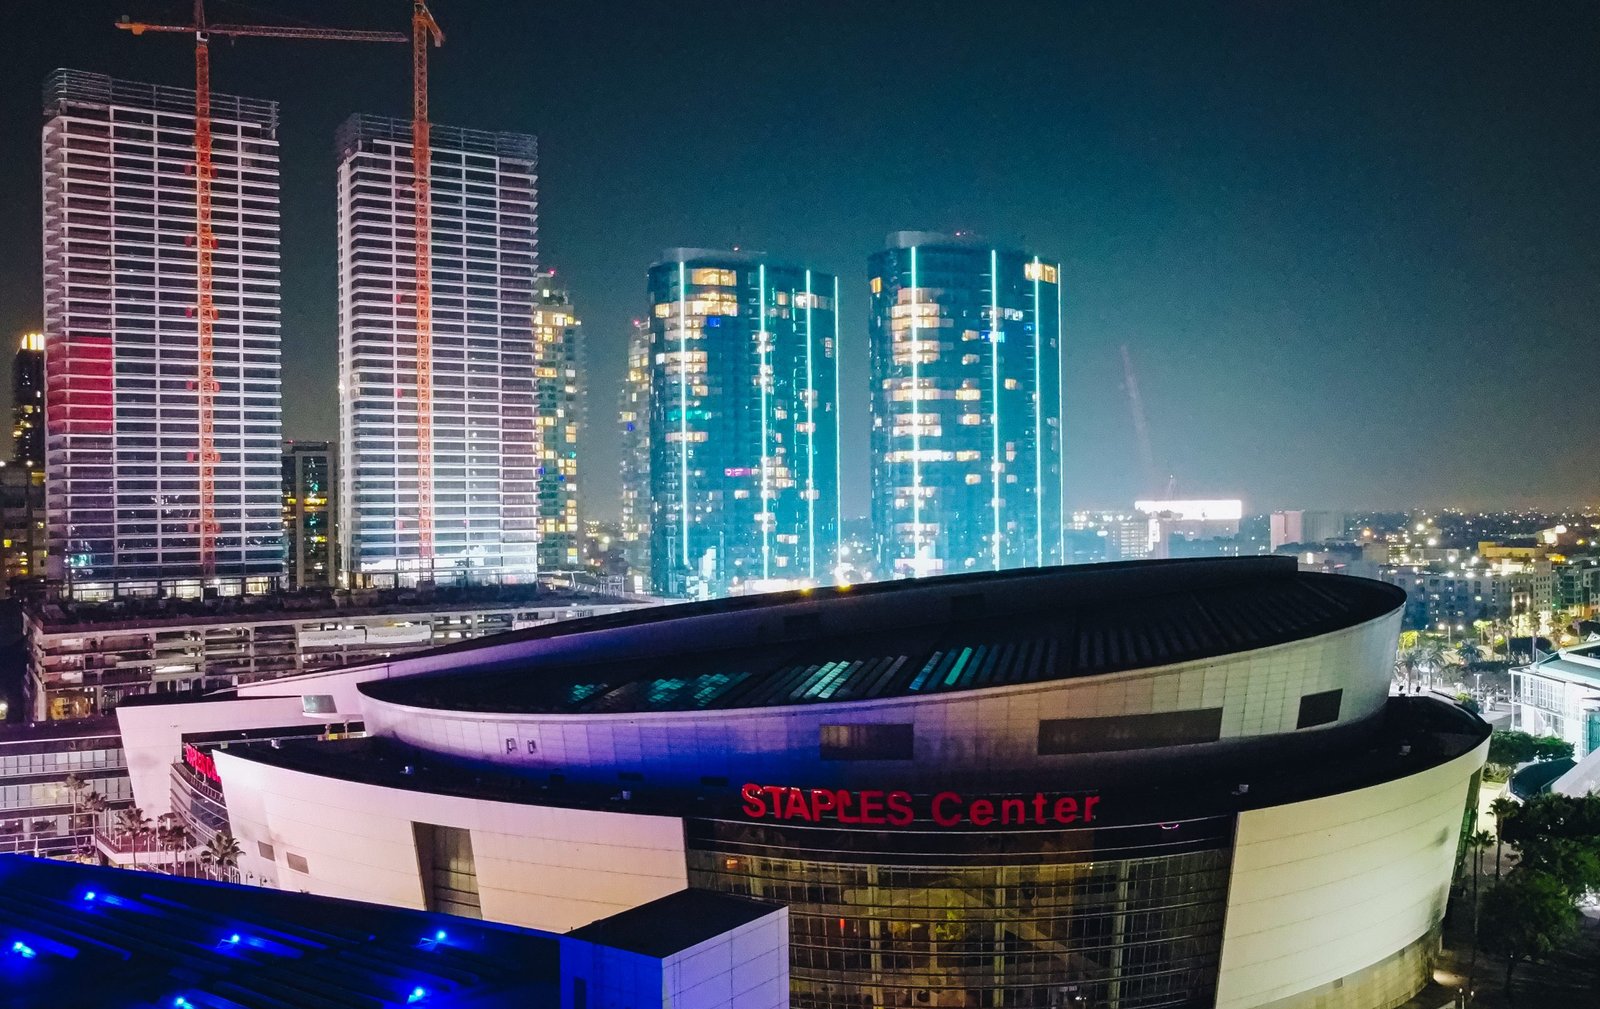
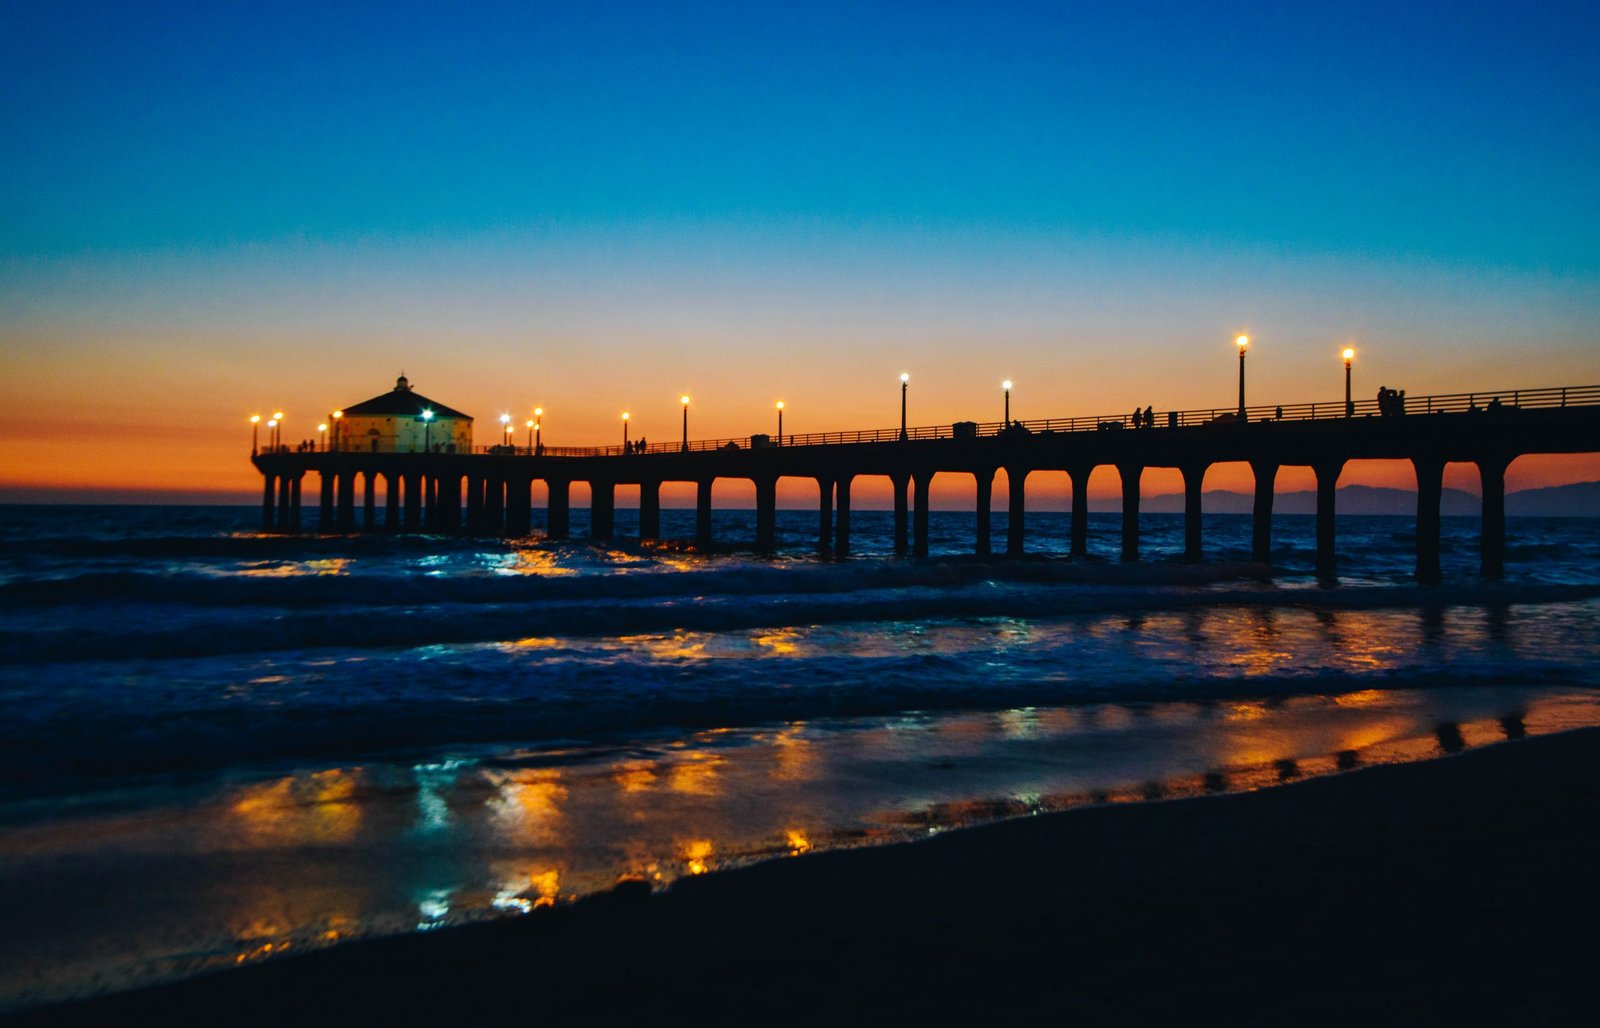
A few nighttime photography techniques to capture detailed scenes with limited lightning!
For most photographers, photography ends when the sun goes down. But we are going to change that! These few simple techniques to make your night photography a success!
1. Play With Different Shutter Speeds
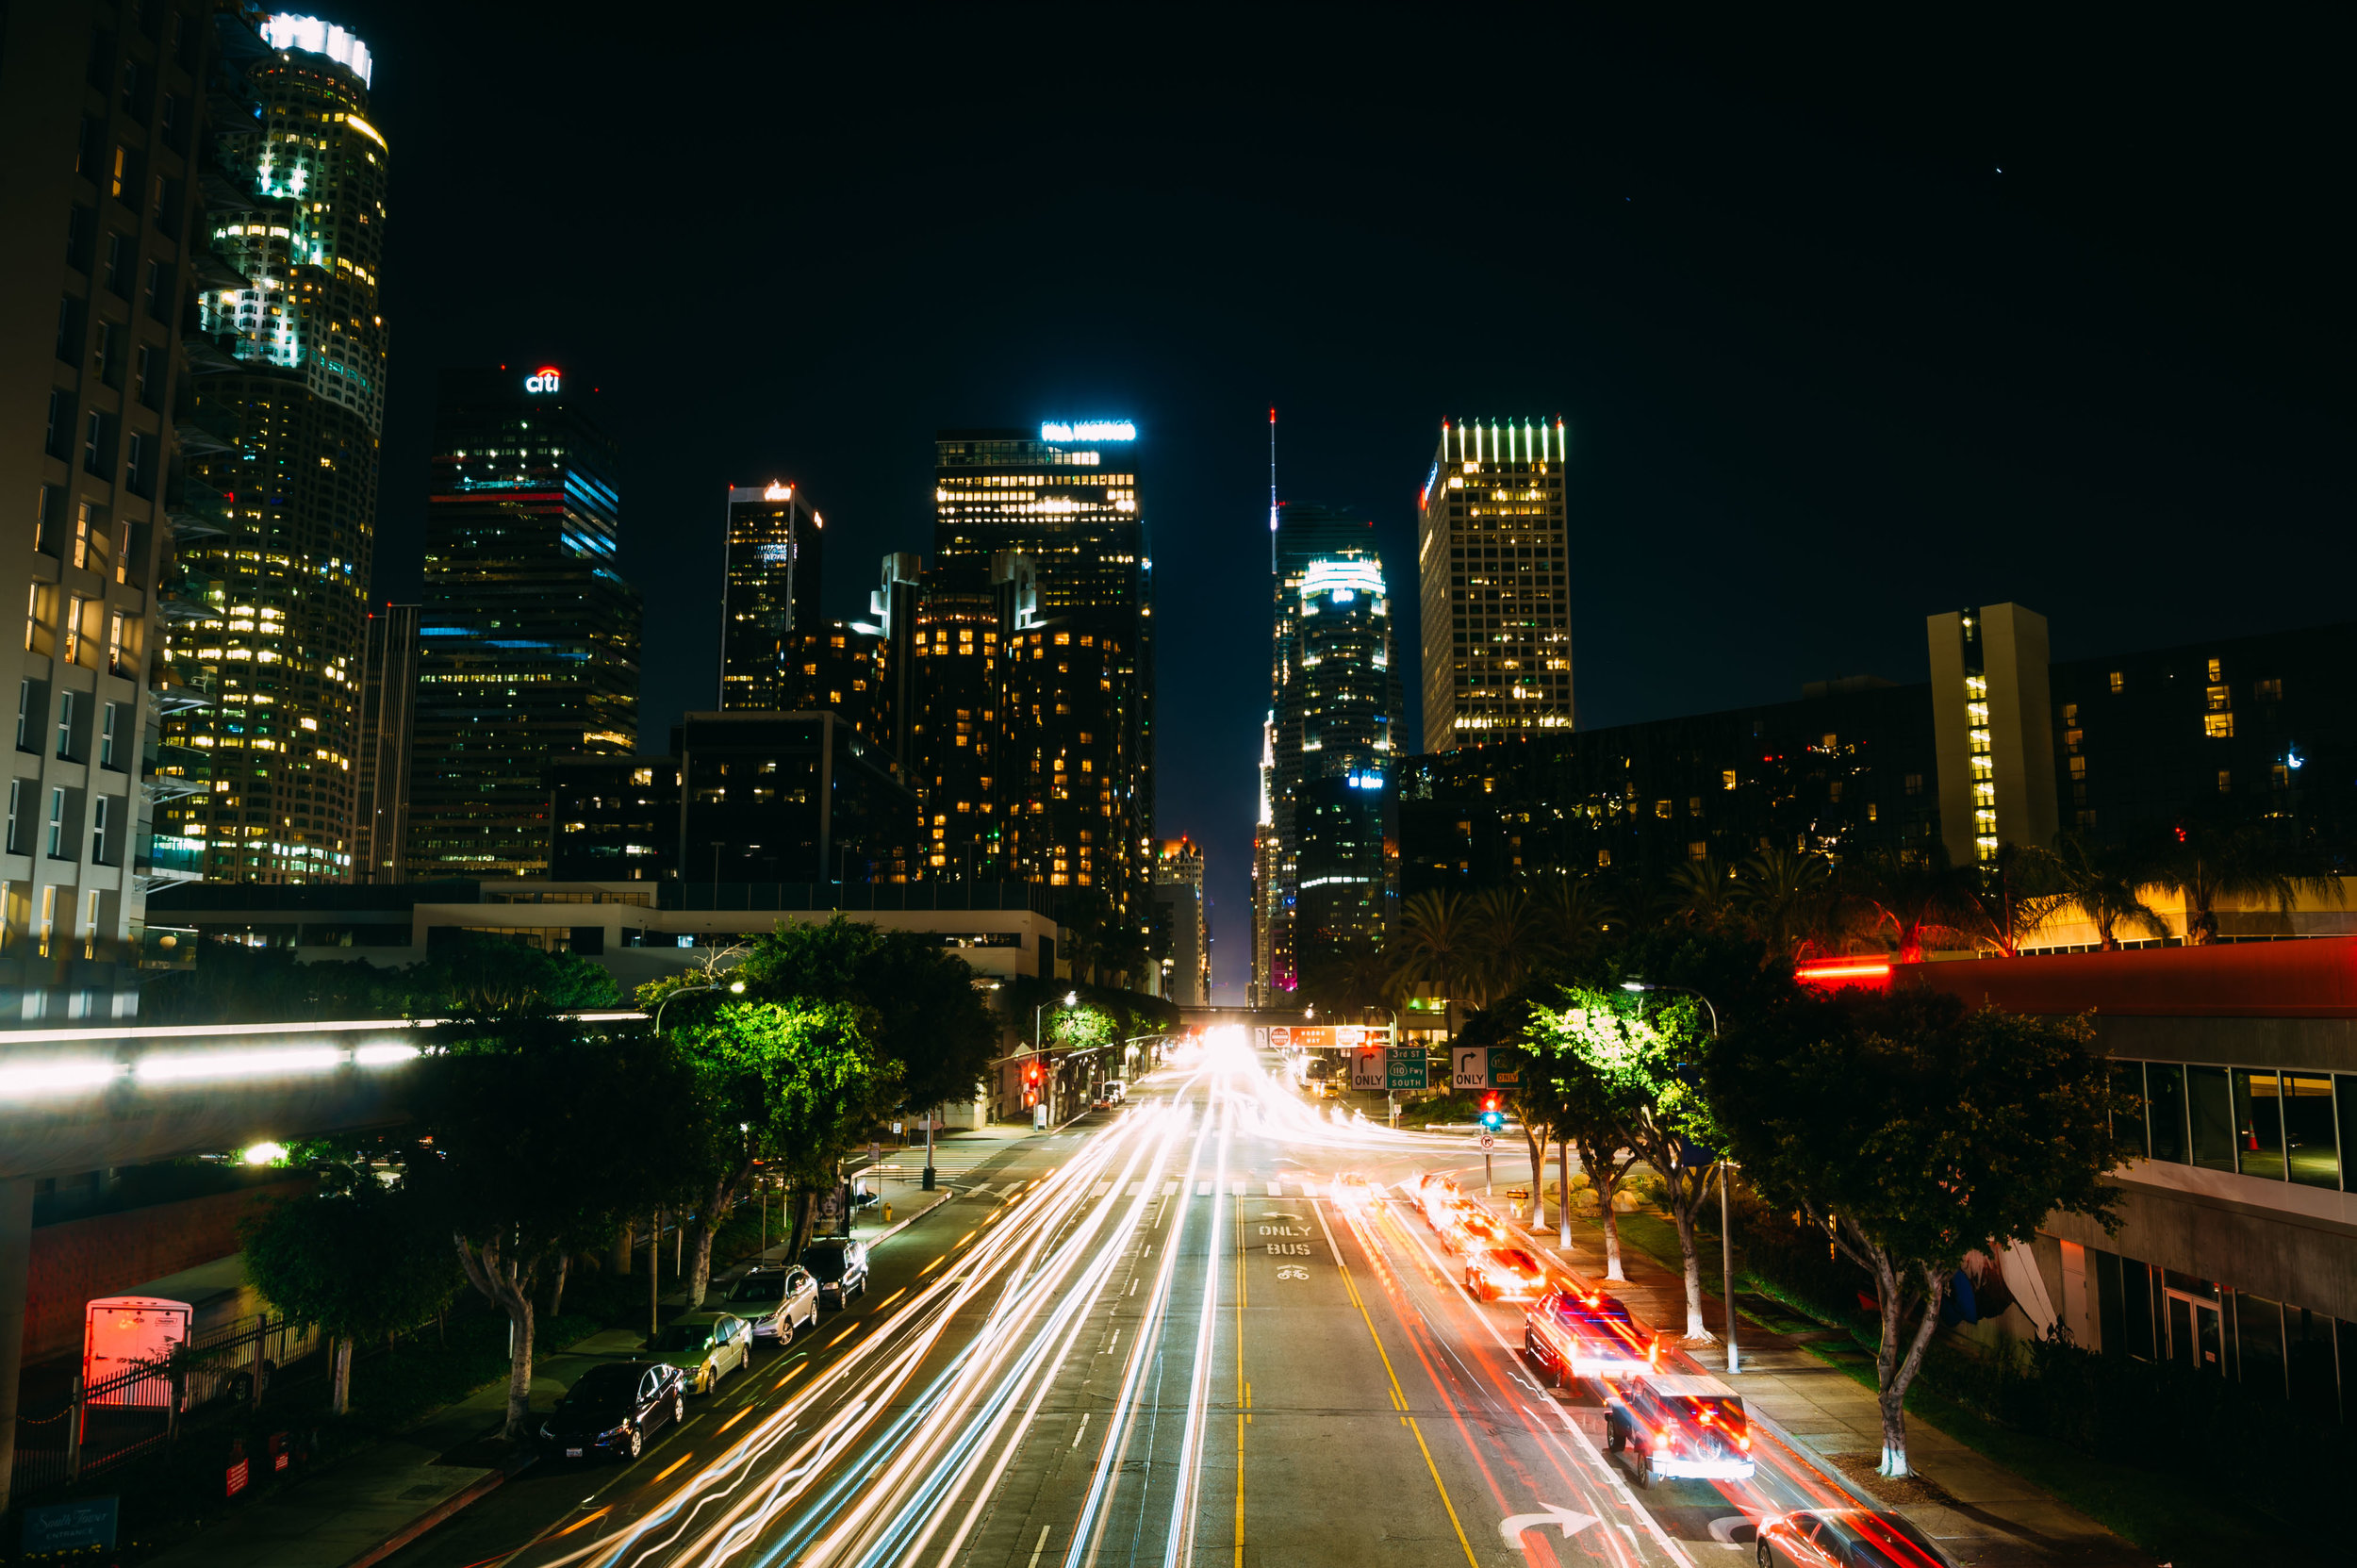
If you want to capture moving objects like the cars in the image above, then switch to Shutter Priority. Just select the shutter speed, and the camera automatically selects the aperture. This mode helps you produce impressive light streaks and dreamy landscapes at night. Once again, test shots are necessary to achieve the effect that you want to create. To shoot colorful trails, you can set your camera to low shutter speeds (from 1/30 down to 30 seconds). Just keep in mind that the slower the shutter speed, the longer the light trails.
Using the widest aperture setting for long exposures isn’t necessary. Sometimes, the combination of really slow shutter speeds and wide aperture can overexpose an image. You’d be surprised how much light your camera gathers even in dimly lit environments. When you’re in Shutter Priority Mode, just look at your camera’s selected aperture, and you’ll see that it can be as small as f/22 for an exposure of a few seconds long.
2. Use Manual Focus
Autofocus in modern cameras may be highly reliable, but it’s still not foolproof. Its weakness is especially evident when taking pictures at night, where your camera struggles to adjust because it’s dark. Using manual focus ensures your camera doesn’t randomly focus on any part of the scene you’re photographing. Turn your manual focus to infinity (∞ symbol on your lens).
To ensure that the scene you’re photographing is crisp, turn on the Live View Mode and press the Zoom-in button (the one with the magnifying lens icon). Magnify the subject you want to be in focus, then adjust until it’s pin sharp. Don’t switch on the autofocus function any time during the photoshoot. Otherwise, it will override anything you did manually. This technique may take a while to get used to, but it’s more reliable than your autofocus in poor lighting.
3. Use Low ISO if Possible
Using high ISO seems to make sense when shooting at night, but doing so also increases the noise in your images. The newest high-end cameras these days are so advanced, they allow you to take noiseless pictures at ridiculously high ISO settings (up to ISO 3200 or more). However, for most consumer cameras with limited light sensitivity range, sticking to a lower ISO is the most practical approach.
Learn the limits of your camera’s ISO levels. To do this, take some low light test shots with different ISO settings. Examine the photos and find out at which ISO level it becomes too noisy. If it looks unusable at ISO 1600, then stick to settings lower than that.
Just because your camera can shoot up to ISO 25,000 doesn’t mean you should use it. Since you’re using a tripod, It’s safe to keep your ISO low. Instead of bumping up the ISO, use slower shutter speeds and wider apertures, instead. ISO 100 may be impractical for night photography, but ISO 400, 800, or even ISO 1600 should be enough in most situations.
4. Shoot RAW
JPEG is the perfect file format for most casual photographers since they don’t take up too much space on your memory card. JPEG files can also be uploaded without being converted into another file. However, this file format also compresses your image files drastically, making it problematic when you’re shooting scenes with high dynamic range.
When shooting at night, switch your image files to RAW in your camera’s menu. RAW files take up a lot of space on your memory card, and your images need to be edited afterward, but at least the quality of each image is preserved.
5. Shoot in Aperture Priority Mode for Static Objects
If you don’t yet fully understand how Manual Mode works, then feel free to use Aperture Priority. Shooting in this mode lets you choose the aperture you want and automatically selects the shutter speed. Aperture Priority is the quickest way to take pictures at night. Once you set your camera to this mode and choose a wide aperture, you’re ready to shoot. As long as you don’t have moving subjects, this mode is the safest way to take nighttime photos.
It’s also perfect for shooting static scenes like buildings and landscapes. However, since it doesn’t let you change the shutter speed manually, it’s hard to know whether moving subjects (such as people or cars) in your photo will be blurry or sharp. If you want more control in photographing moving objects, then you need to switch to Manual Mode or Speed Priority Mode.
