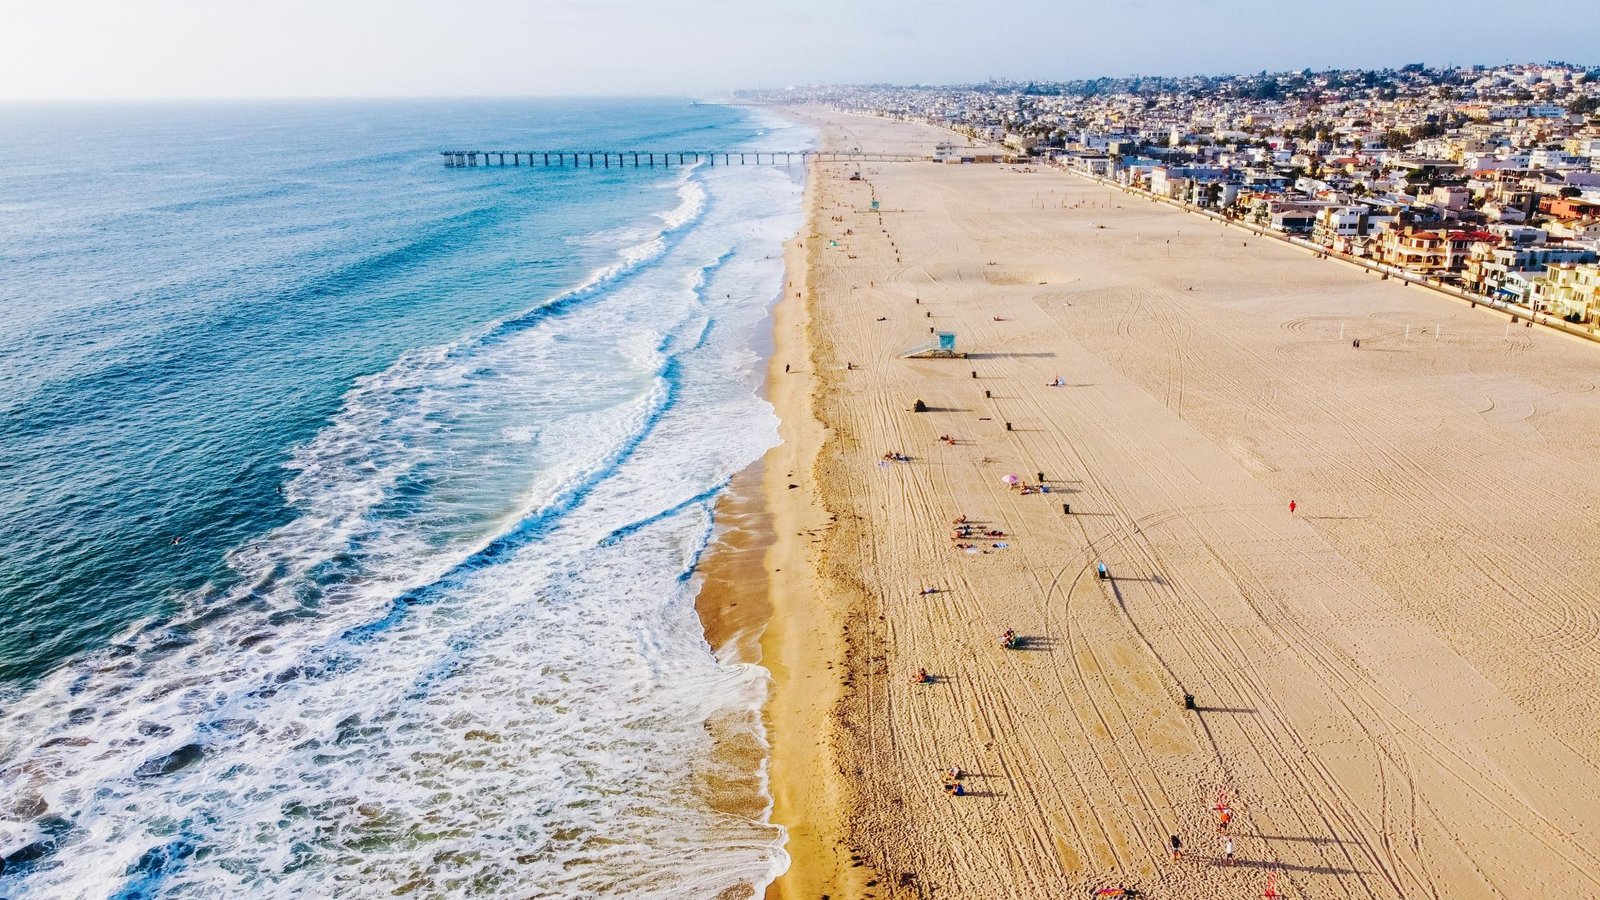
Not much more than a decade ago, only the big-budget television and movie studios could afford the equipment necessary to capture high-quality aerial photography.
Since then, cameras have shrunk to a fraction of their former size, inexpensive software-defined radio technology has become commonplace, and the mass adoption of drones has all combined to cause a revolution in aerial photography.
Today, practically any photographer or videographer on a modest budget can afford to purchase the tools required to shoot amazing drone shots or footage. Purchasing a drone is only the first step, however, and using the device to capture shots that match the quality of commercial stock footage is much thicker than you might expect. If your drone footage looks more like a home video than a blockbuster movie, then stick around for our best tips on capturing cinematic drone shots.
Choosing the Right Equipment
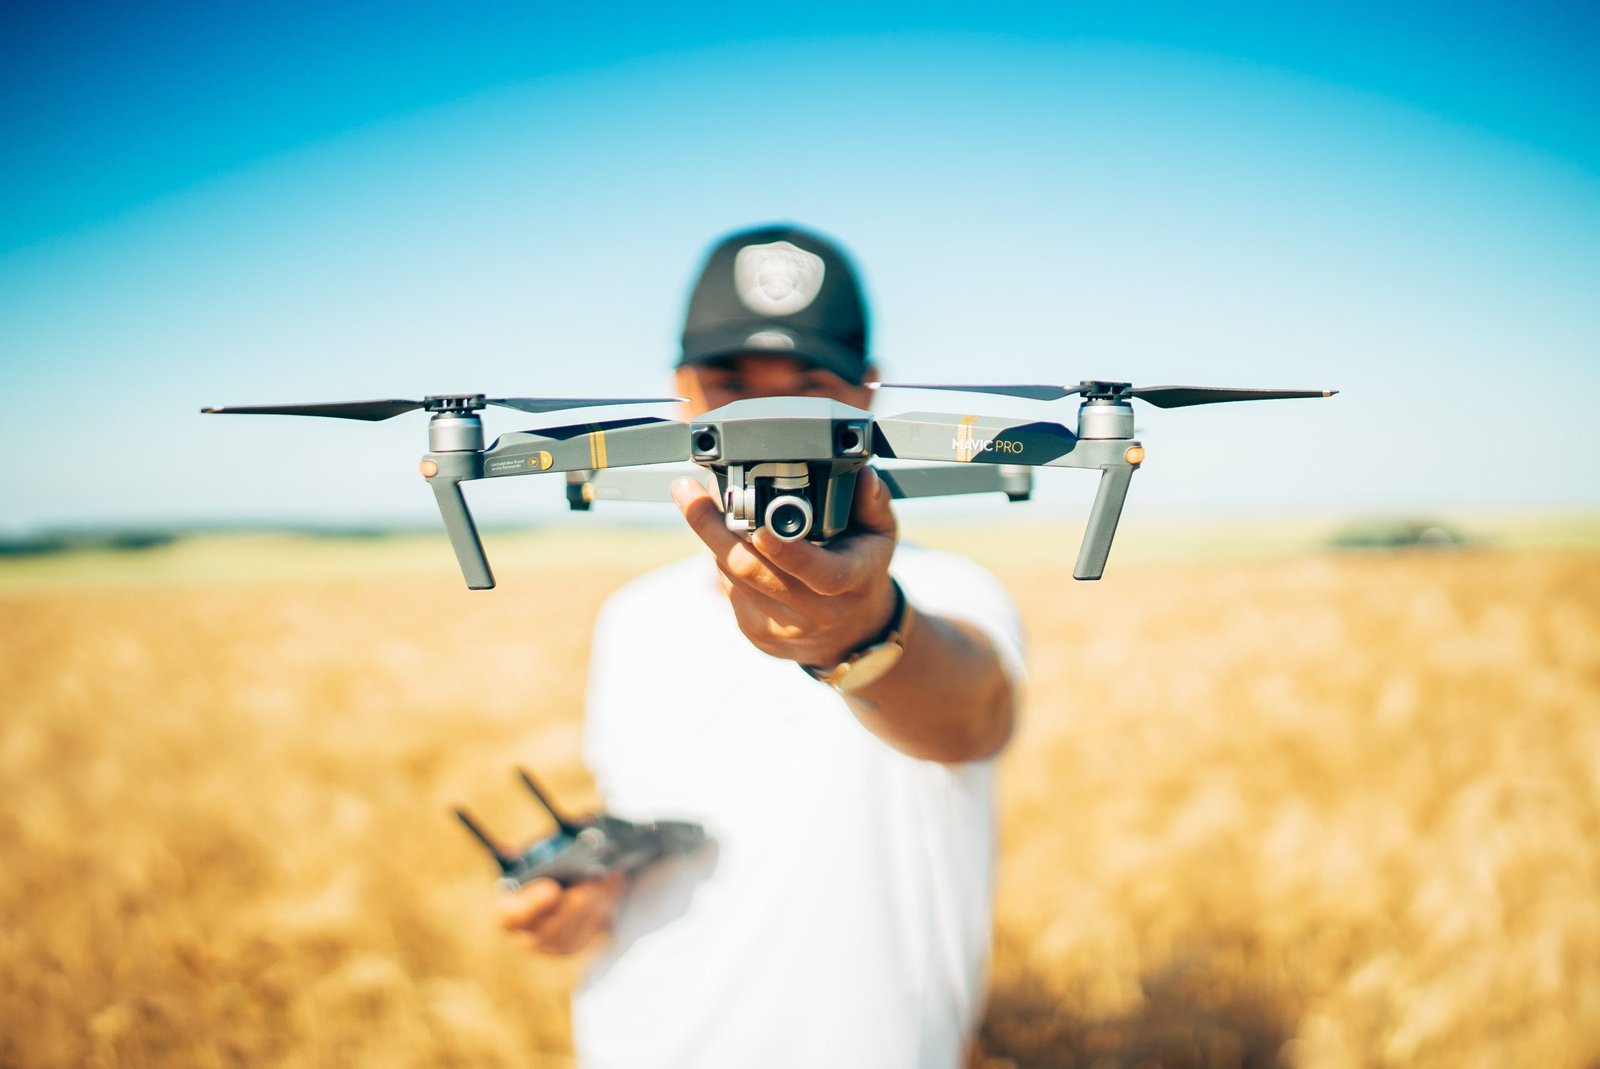
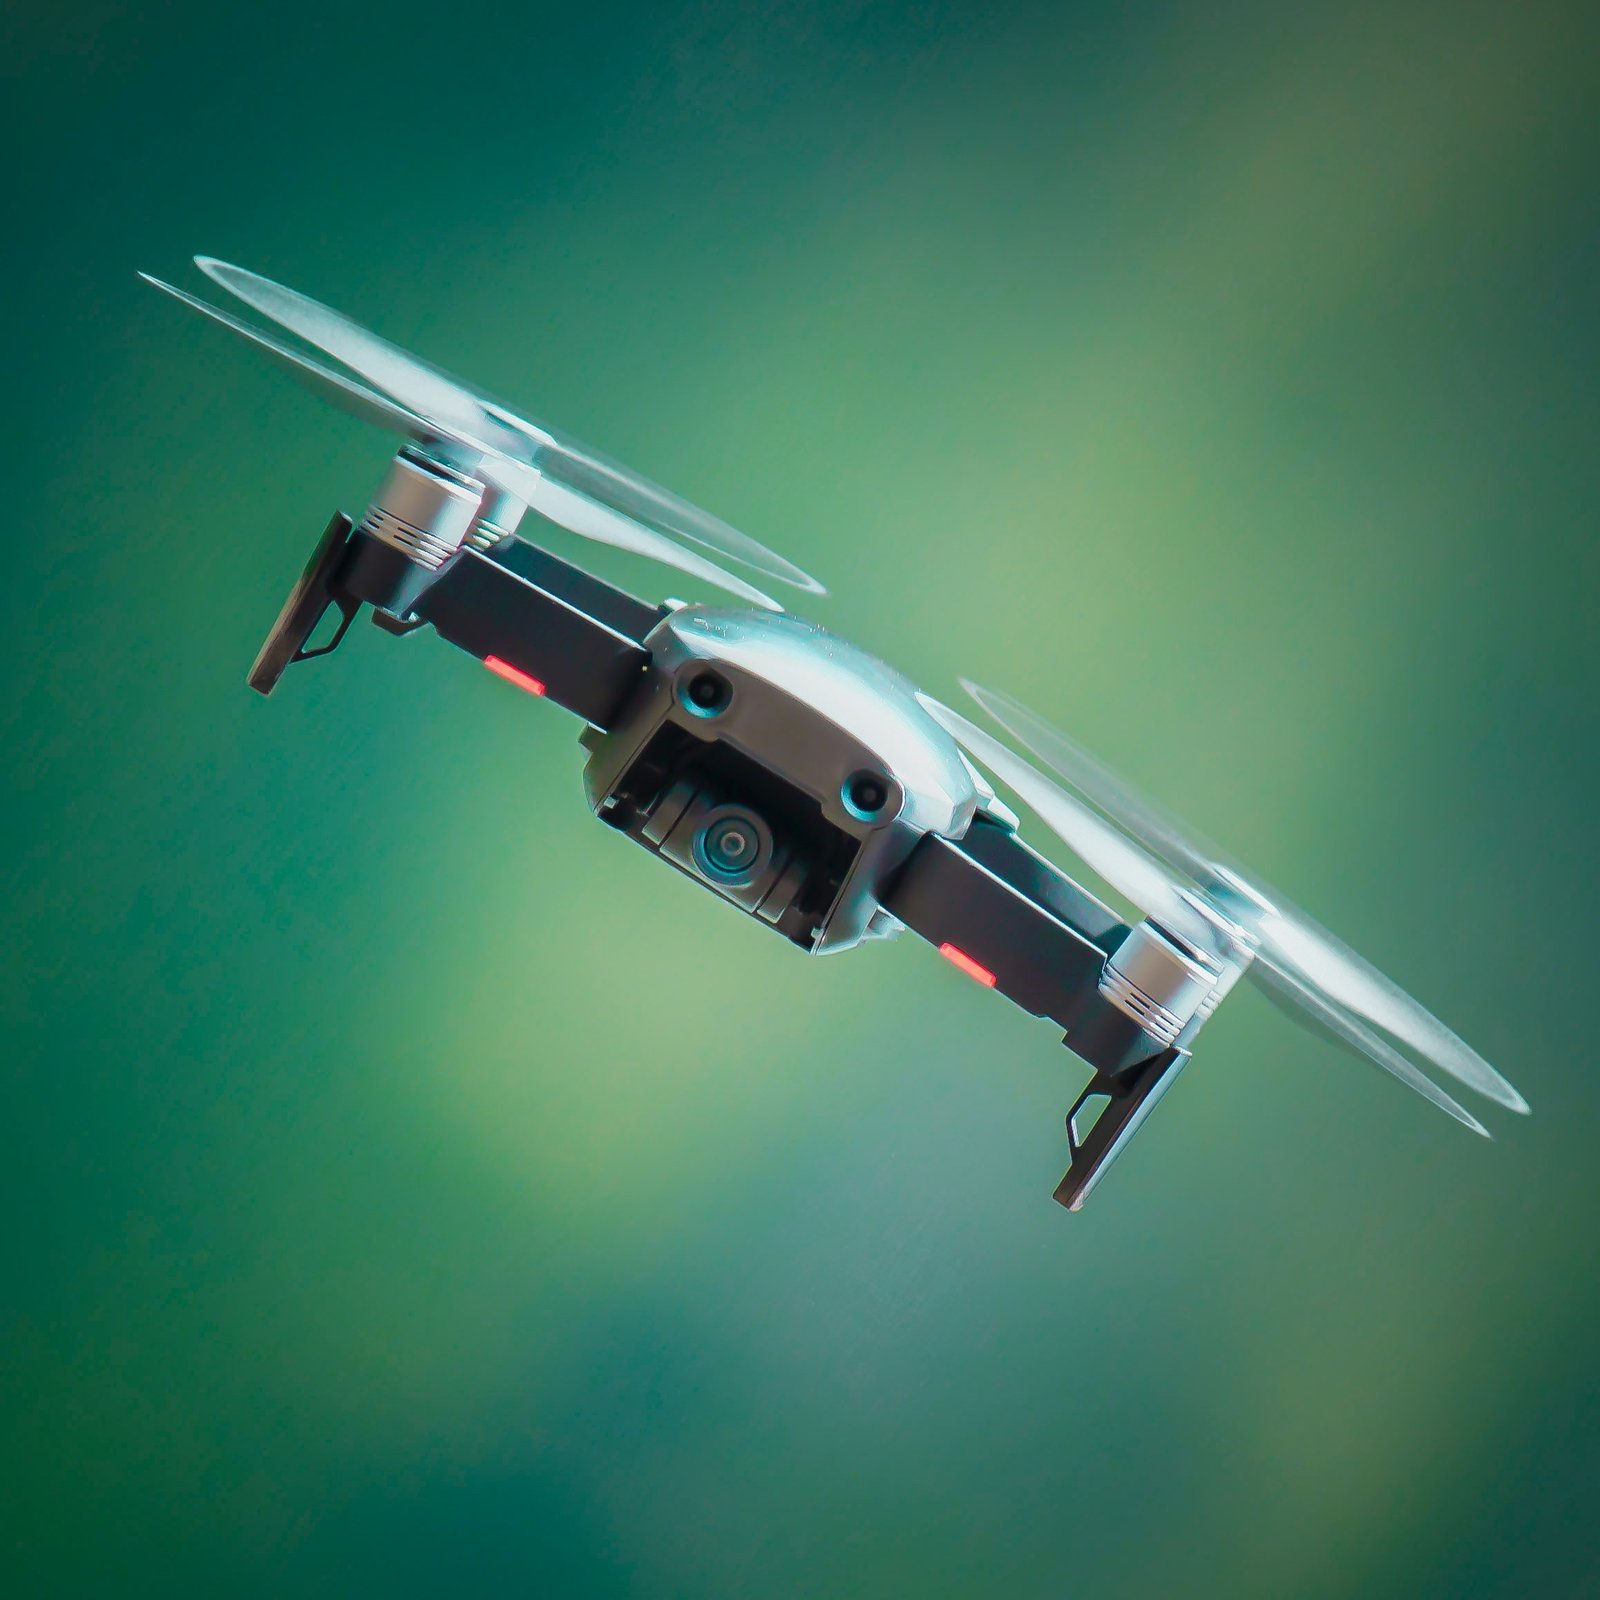
Picking the best drone for the task at hand is essential if you want to capture the most cinematic aerial photography. For example, larger drones are mostly unsuitable for shooting indoors, but a mini drone will be nigh on useless if the majority of your shots are taken outside at high altitudes. If you are expecting to use your drone both inside and out, the DJI Mavic is a drone that manages to find something of a sweet spot and is able to create reasonable results in both environments.
There are pros and cons to every drone, of course; picking a machine with prop guards is highly recommended for indoor environments, but that feature can sometimes work against you if you find yourself needing to capture shots during periods of strong wind. The Mavic Pro and Mavic Zoom drones offer better stability than the standard Mavic, but you’ll need to step up to the professional range if you want to capture the very best cinematic shots.
We’ve focused on DJI’s line-up for good reason; no other manufacturer currently offers the same balance of quality and performance. Their high-end Inspire range is widely regarded as having the best filming capabilities currently available, and even offers individual control abilities for a pilot, gimbal operator, and focus puller.
Piloting Your Drone
Learning to pilot a drone is a painstaking process that will undoubtedly take some time to master. Acquiring a Part107 certification is not only a legal requirement but also a vital credential for ensuring safe, responsible, and profitable drone operations.
If you have no previous experience of flying a drone, you shouldn’t rush into buying the most expensive product right away – pick something cheaper so that you can practice learning to fly the machine competently before taking the controls of a much more expensive device.
The best drone photography requires smooth, slow, and deliberate control; if you make big, fast, or dramatic movements, your results are likely to be so full of jerks and jolts that they will be unusable, not to mention the risk of crashing your valuable piece of equipment! Start by practicing shorter shots – perhaps three to five seconds at a time and keep as far away from physical obstacles until you are a little more confident in your piloting ability. Slow and steady wins the race here, so stick to the most minor adjustments to avoid a nauseating viewer experience!
The art of piloting a drone does share several similarities with other cinematography equipment, such as shooting with a dolly; in both cases, you should never abruptly stop shooting as soon as you believe the shot is done – continue moving for at least a second or two afterwards, as you can always fix up the results in post.
Improve Your Technique
Once you feel confident piloting your drone you will find it much easier to concentrate on shooting video. If your drone is equipped with obstacle avoidance sensors then it would be wise to turn this feature on before you begin learning to shoot video, as it’s very easy to have a momentary lapse of concentration when you are trying to do several things at once. Also, be sure to clean your lens thoroughly before every take-off, as any dust that is present will light up like the night stars if it happens to catch the sun.
Now that you are in the air, its time to practice some filming techniques:
Orbit
The classic orbit shot involves rotating around the subject in full circles; this might sound simple, but it is actually notoriously difficult to achieve! Thankfully, many modern drones have a built-in “quick-shot” function to help with the necessary adjustments to your speed, angle, altitude, and gimbal control. When you feel comfortable, try controlling the drone manually for even better results.
Fly-by
Fly-by shots are included in just about every project that you can think of as they make for perfect transition shots, cutaways, or montage elements. Start by flying your drone over or to the side of your subject, then experiment with the camera pan and tilt controls until you find an ideal composition.
Fly-through
The fly-through is one of the more difficult shots to achieve successfully. The aim is to pilot your drone through a small gap, hole, or obstacle field, creating a “near-miss” effect that can be breathtakingly powerful. Smaller drones featuring prop guards are ideally suited to this kind of task, but you should still practice the controls of the shot several times before attempting it for real.