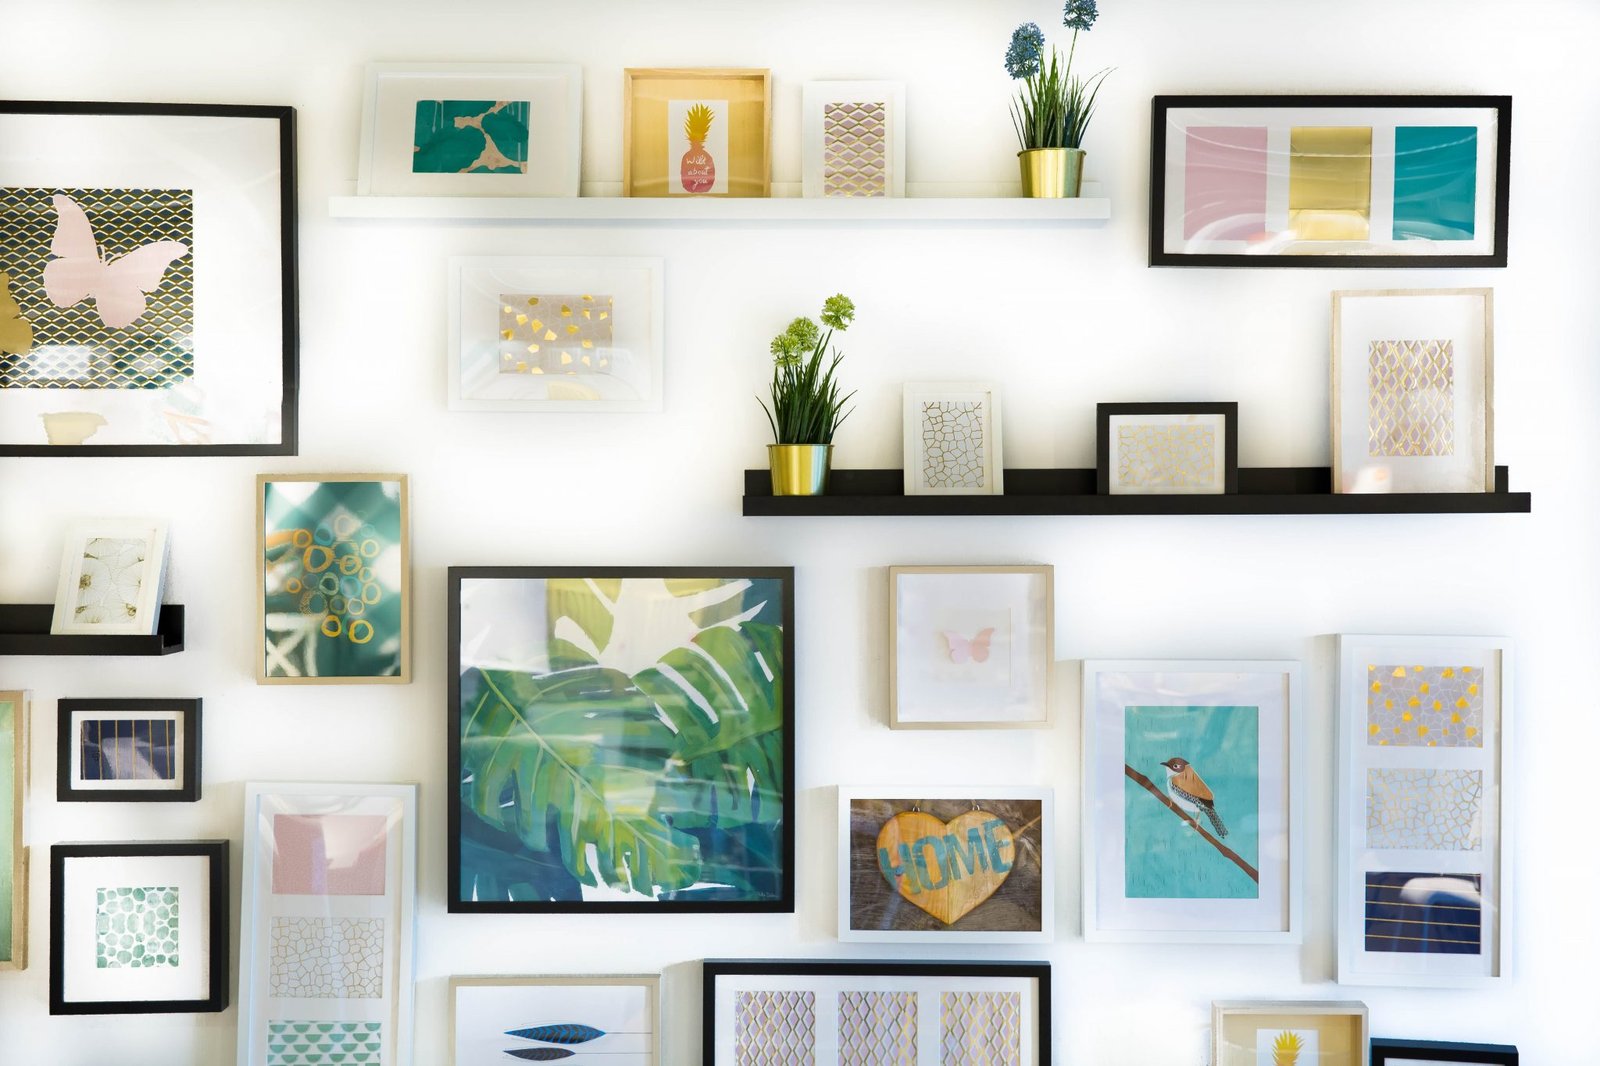



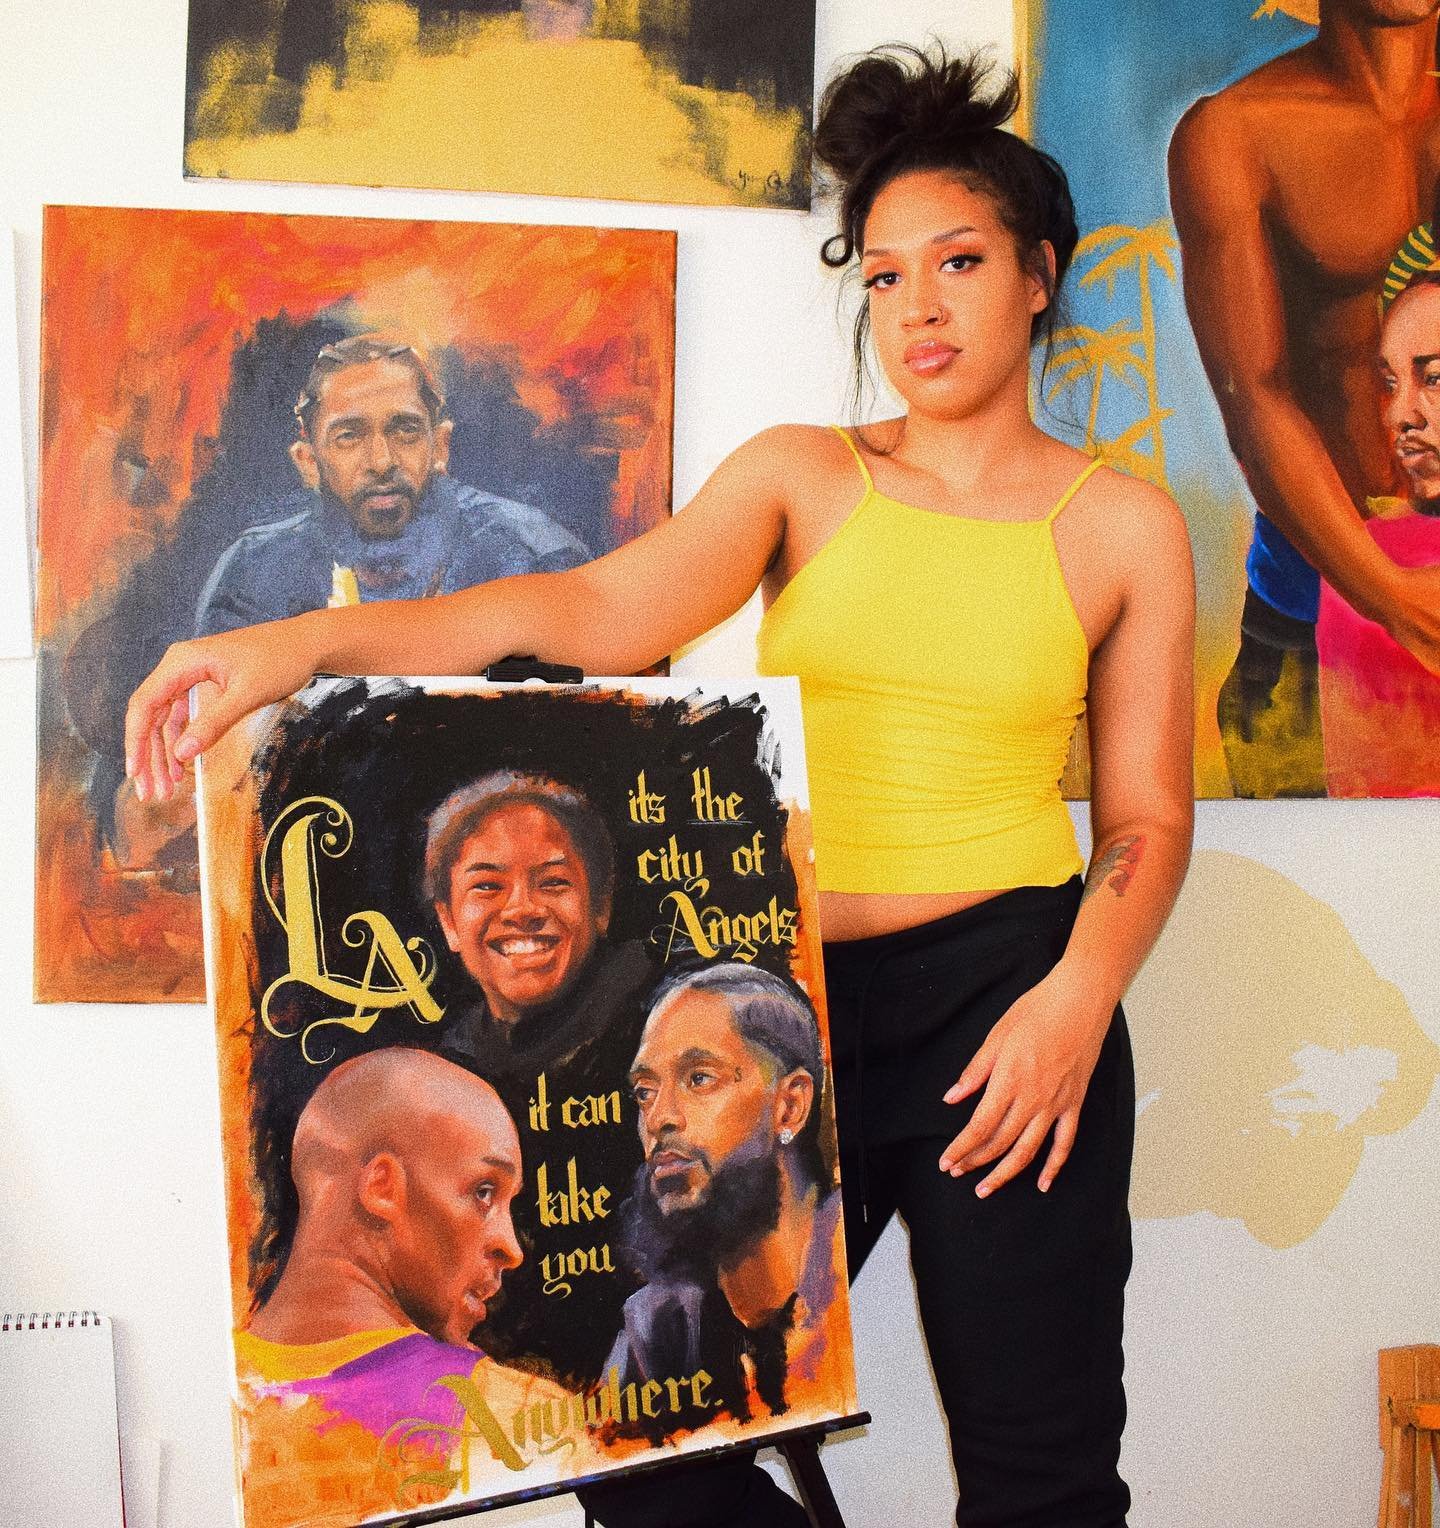

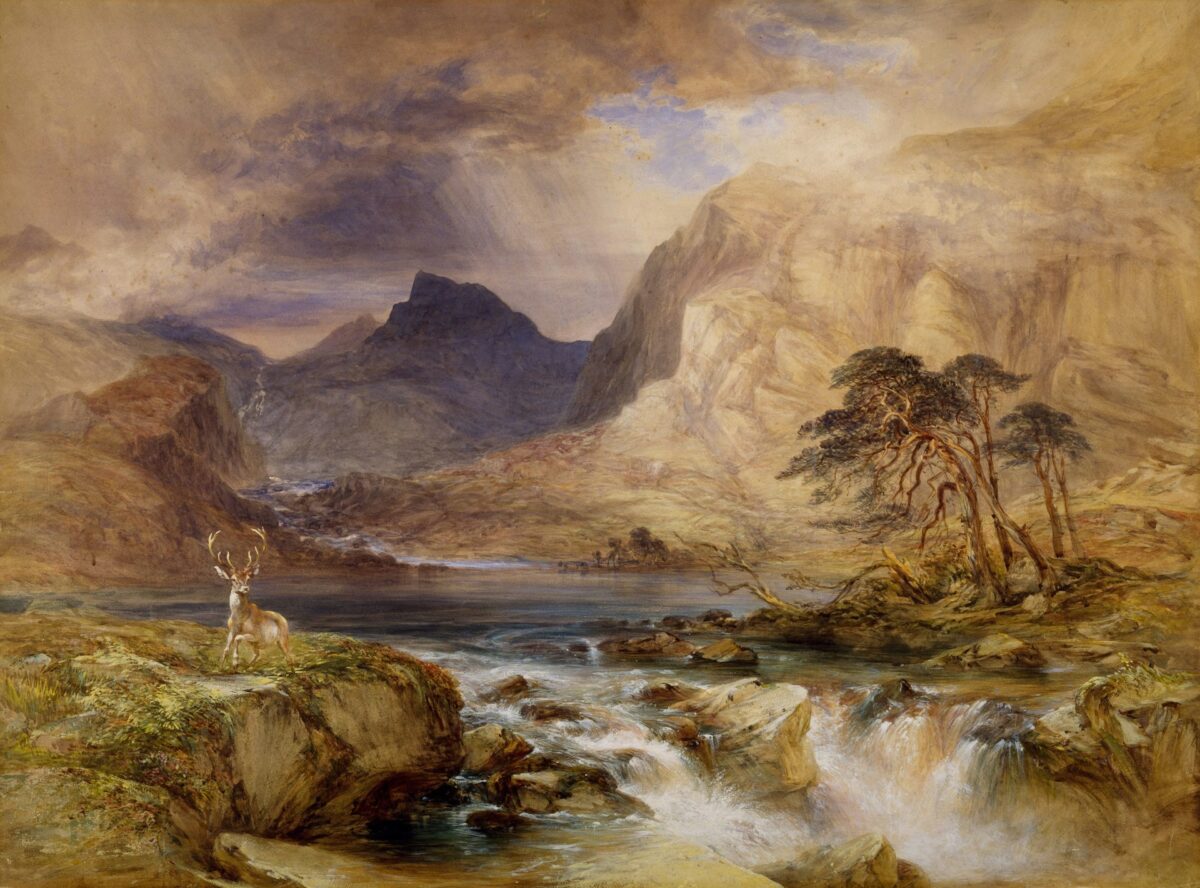

Let’s face it—most of us don’t have the time or energy to take art classes, master color theory, or learn complex brush techniques from scratch. That’s where paint by numbers comes in. Think of it as adult coloring, but elevated. You get the rich texture of real paint on canvas, combined with a built-in roadmap that pretty much guarantees you won’t ruin the piece halfway through.
Whether you’re after a relaxing weekend project to lower your stress levels or just need a good way to switch off after work, here’s a straightforward guide to getting started.
- What to Expect in Your Kit
When you open your paint by numbers kit, you get everything you need to start right away. Here is what you usually find inside:
- A Pre-Printed Canvas: The surface comes printed with faint grey lines and tiny numbers.
- Numbered Acrylic Paints: These little pots hold pre-mixed paint matched to the numbers on your canvas. Acrylics dry pretty fast and clean up easily with water.
- A Set of Brushes: Most sets come with three or four brushes. You will get a wider flat brush for big background areas and tiny detail brushes for the tight spots.
- A Paper Reference Sheet: Don’t throw this away! If you accidentally cover up a number with the wrong paint, this paper guide is your safety net.
- What to Look for When Buying a Kit
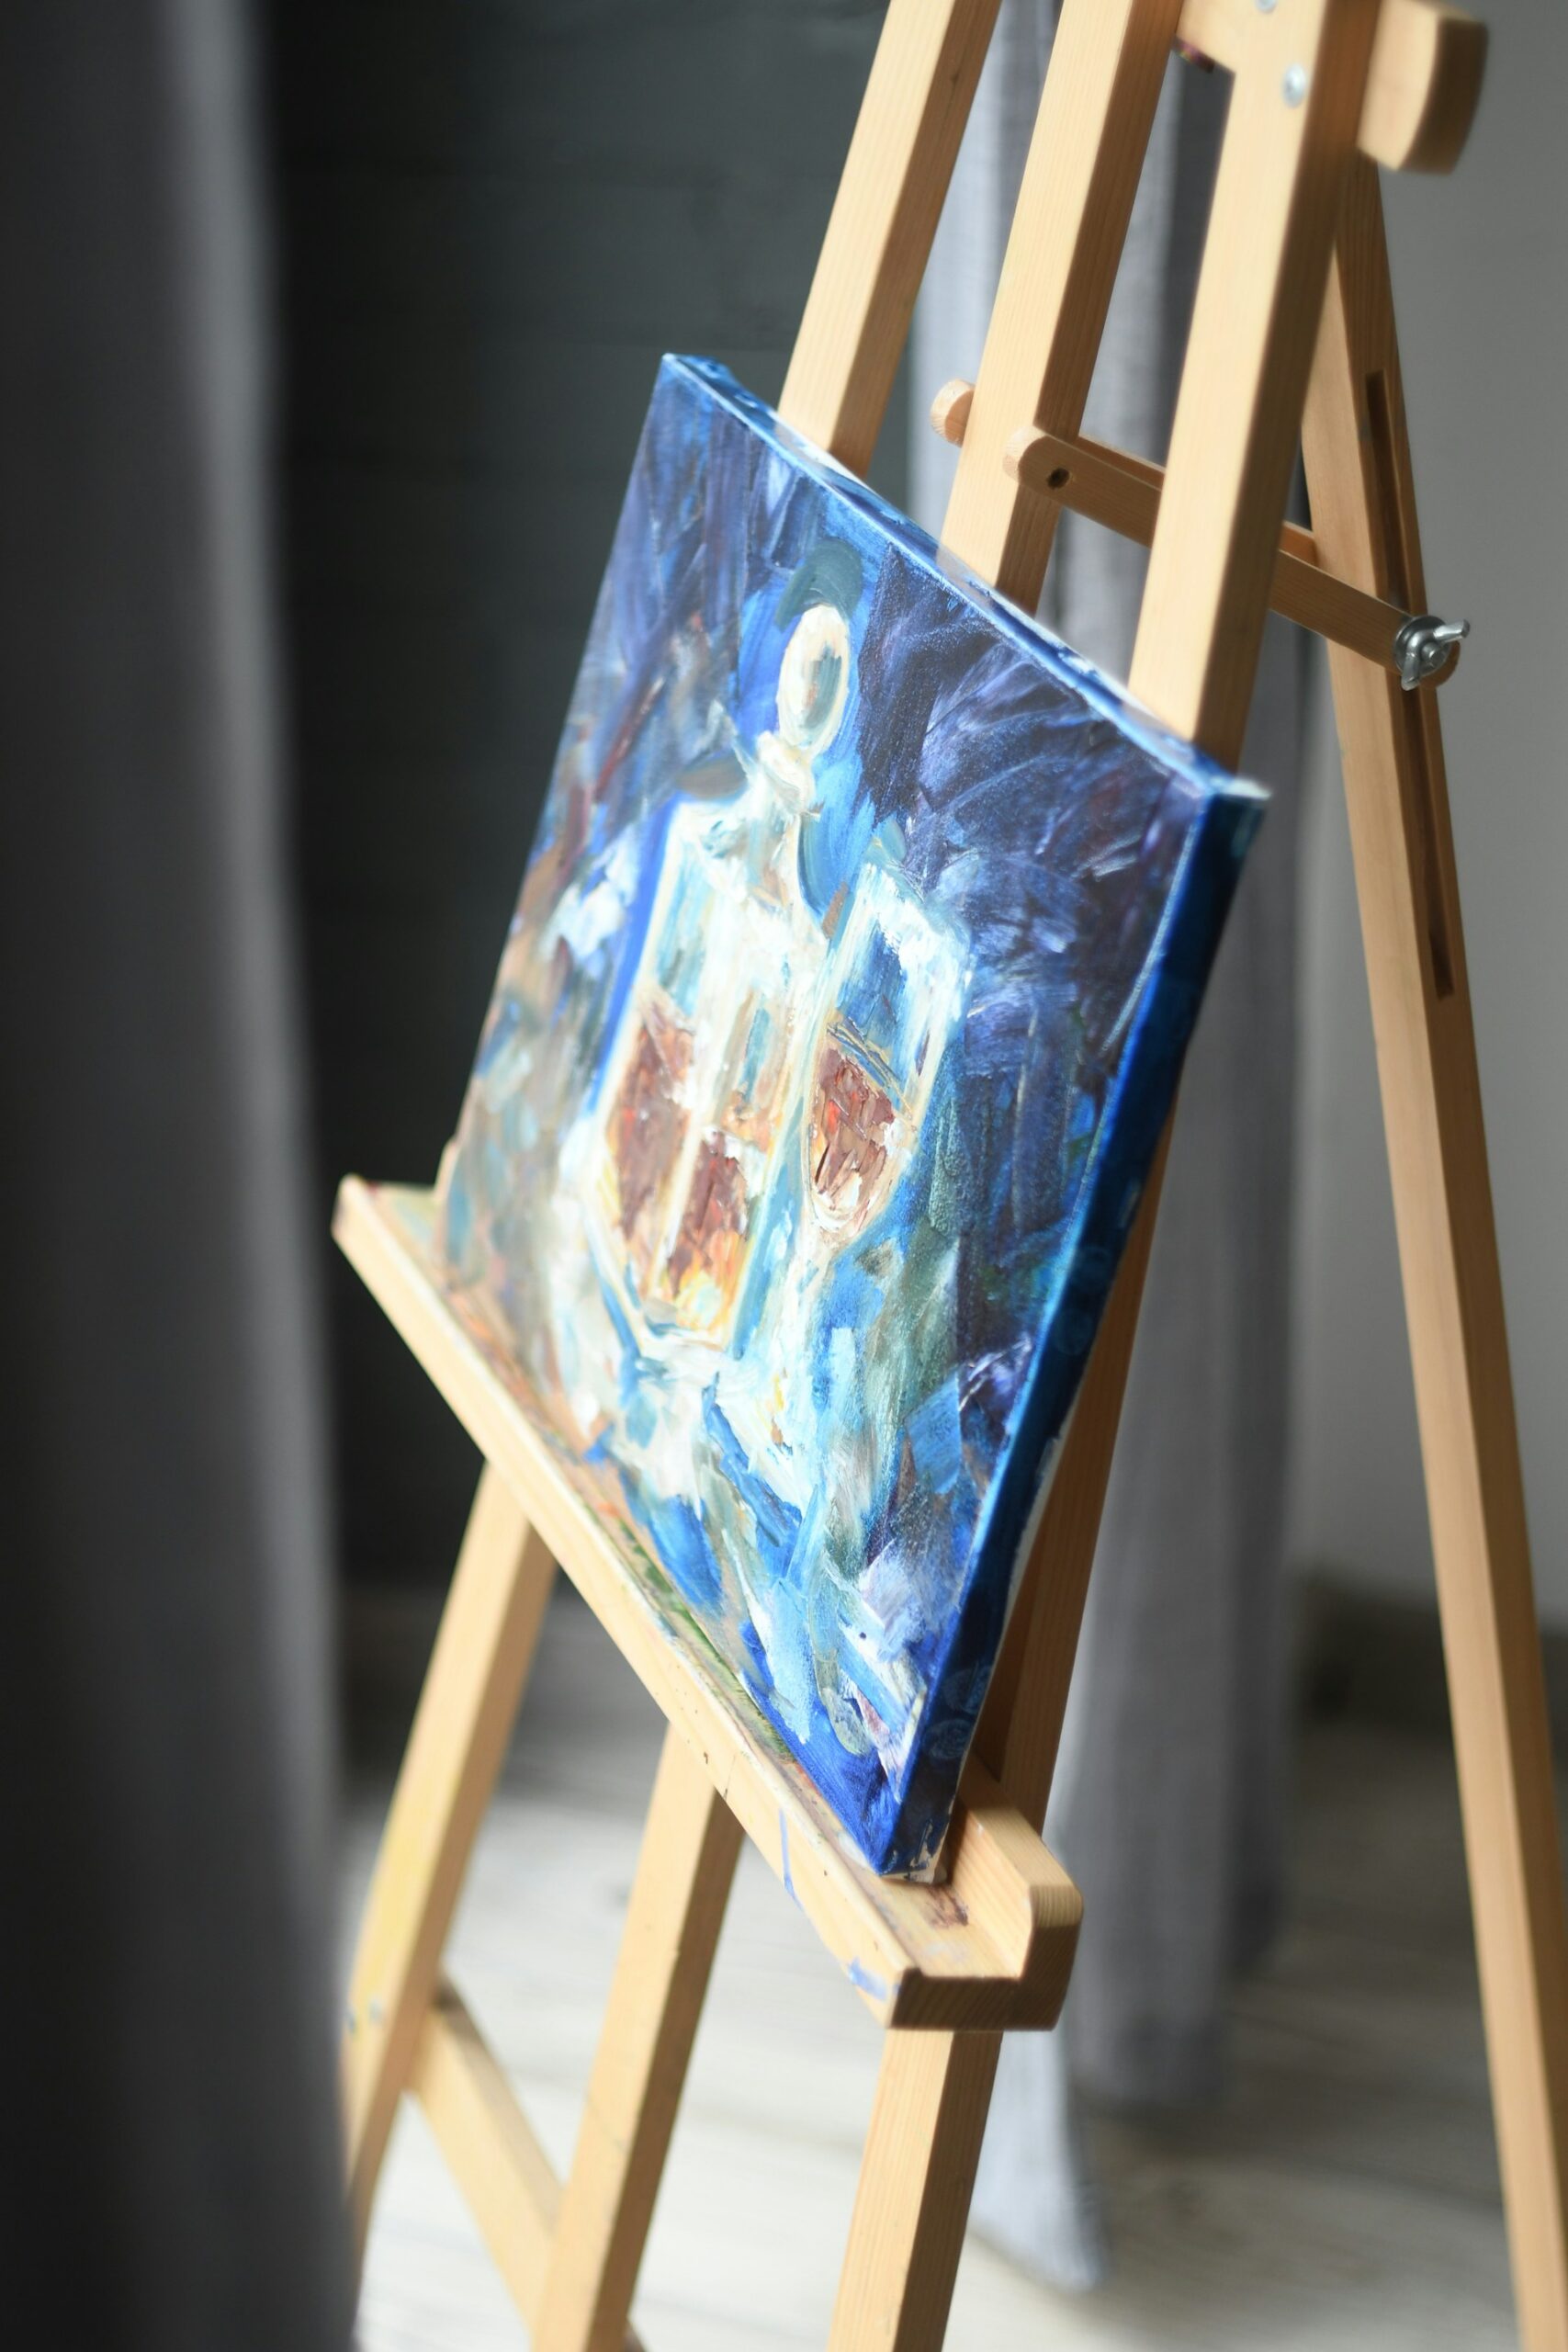
Not all kits are created equal. To guarantee a good experience, here are the key quality factors I check before buying:
- Canvas Material & Packaging: Look for real linen or heavy cotton canvas rather than cheap, thin paper-backed materials. More importantly, check how it’s packaged. Kits shipped rolled in a tube are infinitely better than folded ones, as deep creases can be a hassle to flatten out.
- Paint Opacity & Quantity: Good kits come with fresh, vibrant acrylic paints that cover the printed numbers easily. Look for brands that provide extra pots for dominant colors—there’s nothing more frustrating than running out of a background shade halfway through your project.
- Image Resolution & Detail: High-quality sets show clear detail previews of the final piece. Cheaper kits often take complex photos and oversimplify them, turning smooth gradients into blotchy, pixelated blocks of color.
- Clear Print Quality: The numbers and outline grid on the canvas should be crisp and legible, printed in a light grey ink. Dark black lines or blurry numbers are hard to hide, even under multiple coats of paint.
- Custom Photo Options: You can also order custom kits made directly from your own photos. Just make sure to upload a clear, high-resolution picture so the converted detail map stays sharp.
- Setting Up Your Workspace
Take five minutes to set up your spot properly—it makes the whole process much smoother.
Good lighting is everything here. Working near a bright window, but a decent adjustable desk lamp works great to save your eyes from straining over tiny numbers.
A few extra things to keep nearby:
- A cup of clean water for rinsing brushes.
- Paper towels to dab off extra moisture.
- My phone camera to zoom in on tiny numbers.
If your canvas did arrive folded, turn it face down on a towel and gently iron the back on low heat with a bit of steam to flatten it right out.
Step-by-Step Painting Process
To keep your artwork clean and avoid messy accidents, here are the simple rules to follow:
Work Top to Bottom
Always start at the top of the canvas and move down. That way, my hand isn’t resting on wet paint while working on other sections.
Start Light (or Work Background to Foreground)
Knocking out background elements like skies first before moving on to foreground details. Starting with the lighter colors because it makes fixing mistakes so much easier. If you accidentally spill dark paint onto a light section, it takes multiple coats to cover up—whereas dark paint covers light paint effortlessly once dry.
Keep Your Paint Pots Closed
Acrylic paint dries out fast if left open. Only keep one pot open at a time and snap the lid completely shut when switching colors. If a color feels a bit stiff, just drop in a single droplet of water and mix it with a toothpick.
Handling Thin Colors
Lighter shades like yellow or white sometimes don’t hide the printed numbers on the first pass. Don’t pile on a thick coat to force it. Let the first thin layer dry completely, then hit it with a quick second coat.
- Easy Tips for a Better Result
Want your piece to look a bit more natural and less like a template? Try these quick tweaks:
- Soften Hard Edges: Gently run a dry brush over the border where two wet colors meet to create a subtle blend.
- Don’t Worry About Mistakes: If you paint the wrong spot, let it dry completely and paint right over it with the correct shade.
- Clean Your Brushes Often: Rinse your brush every few minutes so paint doesn’t dry inside the bristles and ruin the tip.
- Displaying Your Finished Piece
Once every spot is filled and dry, you are ready to show it off. Brush on a thin coat of clear acrylic varnish to protect the surface from dust. You can pick a matte finish if you want a subtle look, or a glossy finish to make the colors pop.
For hanging, you can stretch the canvas over a cheap wooden frame, pop it into a standard photo frame, or use magnetic poster hangers for a clean, casual look. Hang it somewhere you can see it, and enjoy showing off something you built with your own hands.