Learn How To Edit Images With These 6 Steps
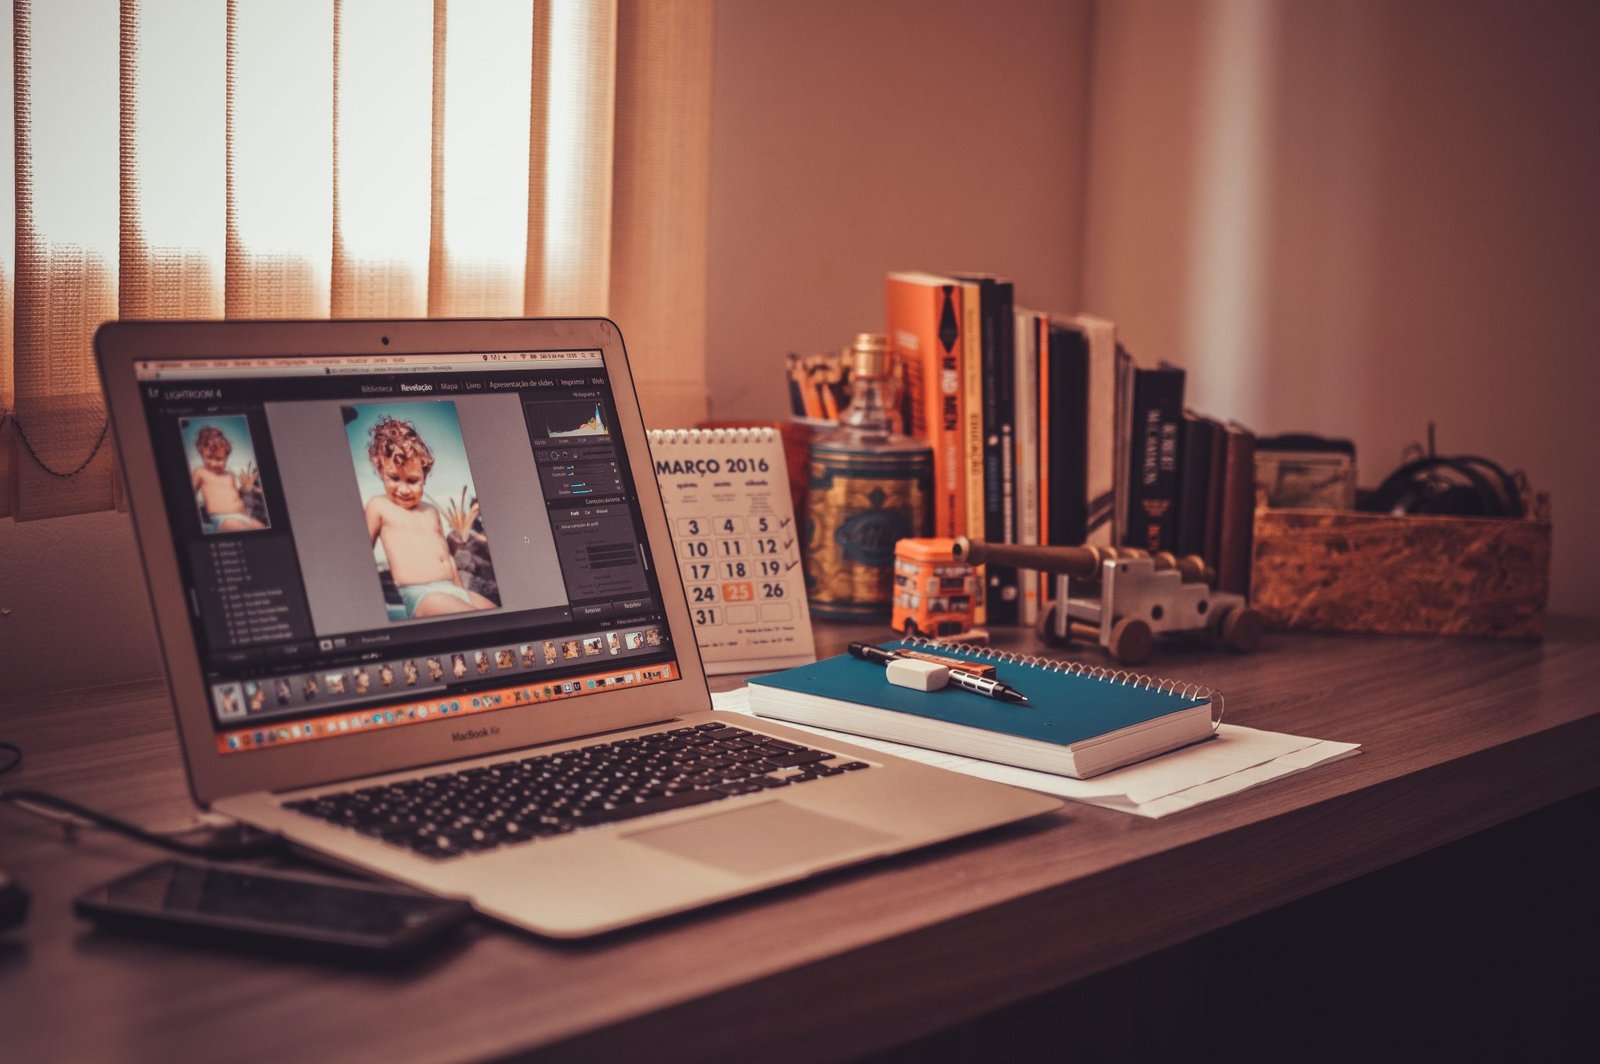
Thanks to the technological revolution, people can use digital cameras or smartphones to take pictures and download software to modify their photos.
The beauty is that while some software is free and straightforward to use, there is always the opportunity to buy something more costly and professional.

Let’s consider six steps to making improvements to your digital pictures.
1. Download a Photo Editor
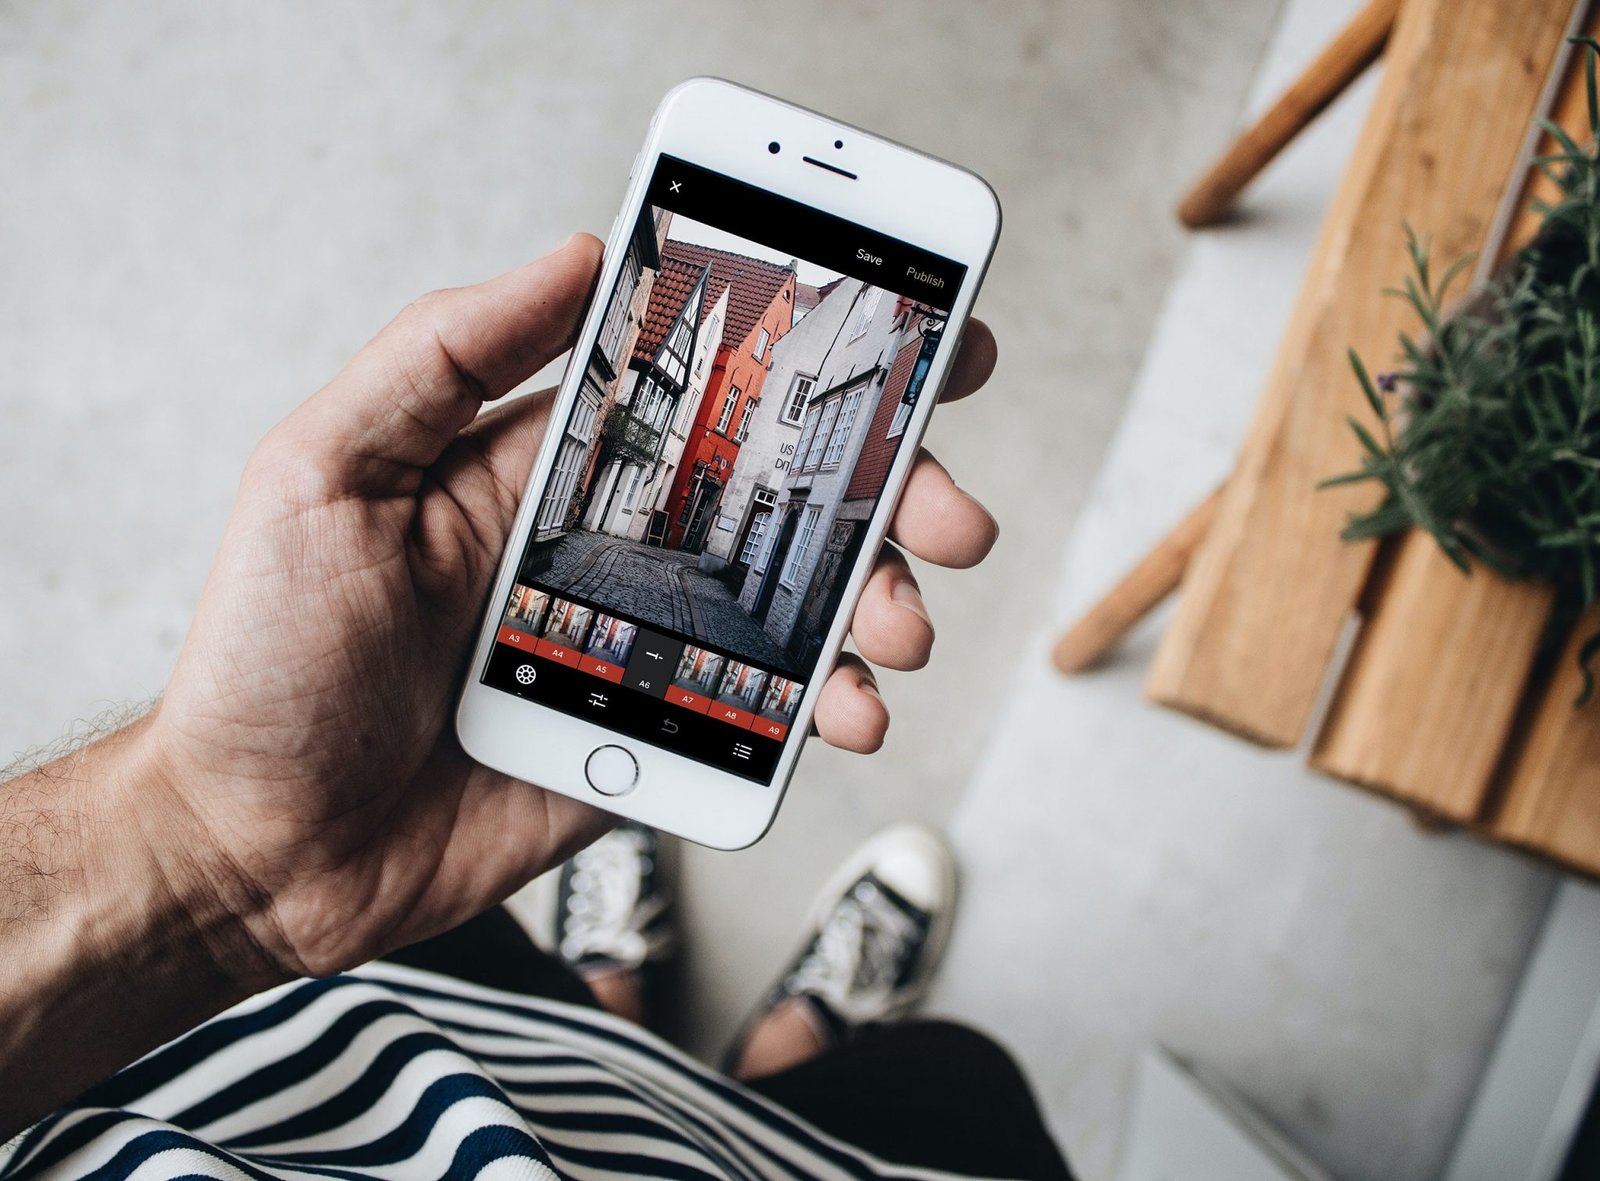
Both Apple and Android phones have the facility for people to download picture editing applications. They may be free or offer the option to buy extra functions within the app. Others are more expensive and give people the chance to buy the whole deal in one.
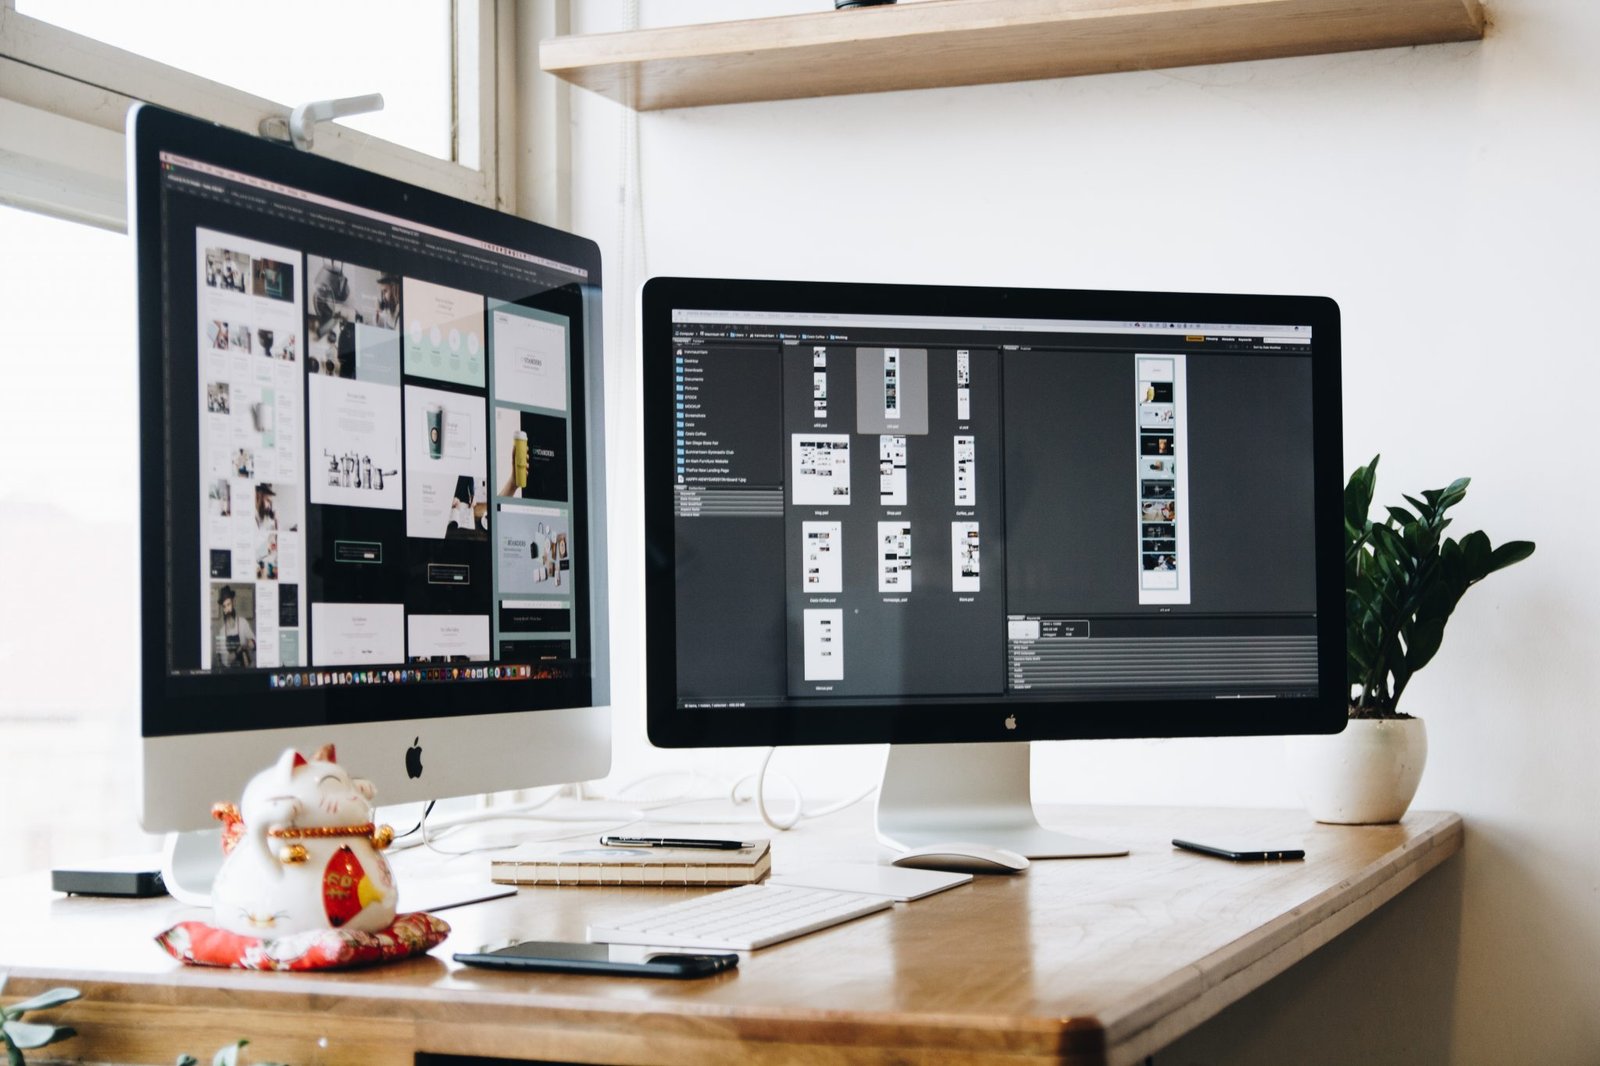
The type of application that is most suitable for a person will depend on their level of expertise. Adobe Photoshop provides a host of professional options for outstanding results at the top end of the spectrum.

When the new app has been opened, there may be a quick tour of the buttons on offer. This will be well worth doing, so you can familiarise yourself with everything.
2. Take or Choose a Photo
Don’t worry about the different picture file types: most apps can cope with jpeg, gif, bmp or png files. If your file type is not supported by the app, there are, fortunately, online file converters. The guys at https://www.jpgtopdf.com/ say people often want to change the file types of several pictures in one go and don’t want to pay for the facility. If a picture is needed in a less common photo format such as .pdf, these online applications will often make that happen too.
There will no doubt be an option for you to upload your required picture in the app. Quite often, you can alternatively take a photo there and then edit.
3. Crop or Resize the Photo
Look for an icon within the app that allows for cropping. Usually, there will be two horizontal and two vertical lines to use. The image will be broken down into thirds, and you can remove unwanted sky or empty space to the left, for example. It’s also possible to make a person look bigger by cropping out much of the background.

4. Use the Lense or Filter Facility
This can help change the mood of a picture. As with all the different options within the app, there is usually a preview pane to help you decide. As each filter is experimented with, the picture will be enhanced or modified in a different way. Simply select the desired example.
5. Adjust the Brightness or Contrast
This function can be great for toning down pictures that have become bleached in the sunshine or to brighten up pictures that were taken in low light and look dull.

6. Amend the Colour Saturation Level
There may be a simple slider to move across, to increase or decrease the level. The lowest saturation level can create a great black and white version of the picture. At the other extreme, an intense saturation level can make the photo look like something out of a comic book!
Once a person has become familiar with their new app, they can optimize their pictures and create visual treasures to savor for many years to come.


