It doesn’t matter what you do for a living or where you live; everybody loves to take photographs.
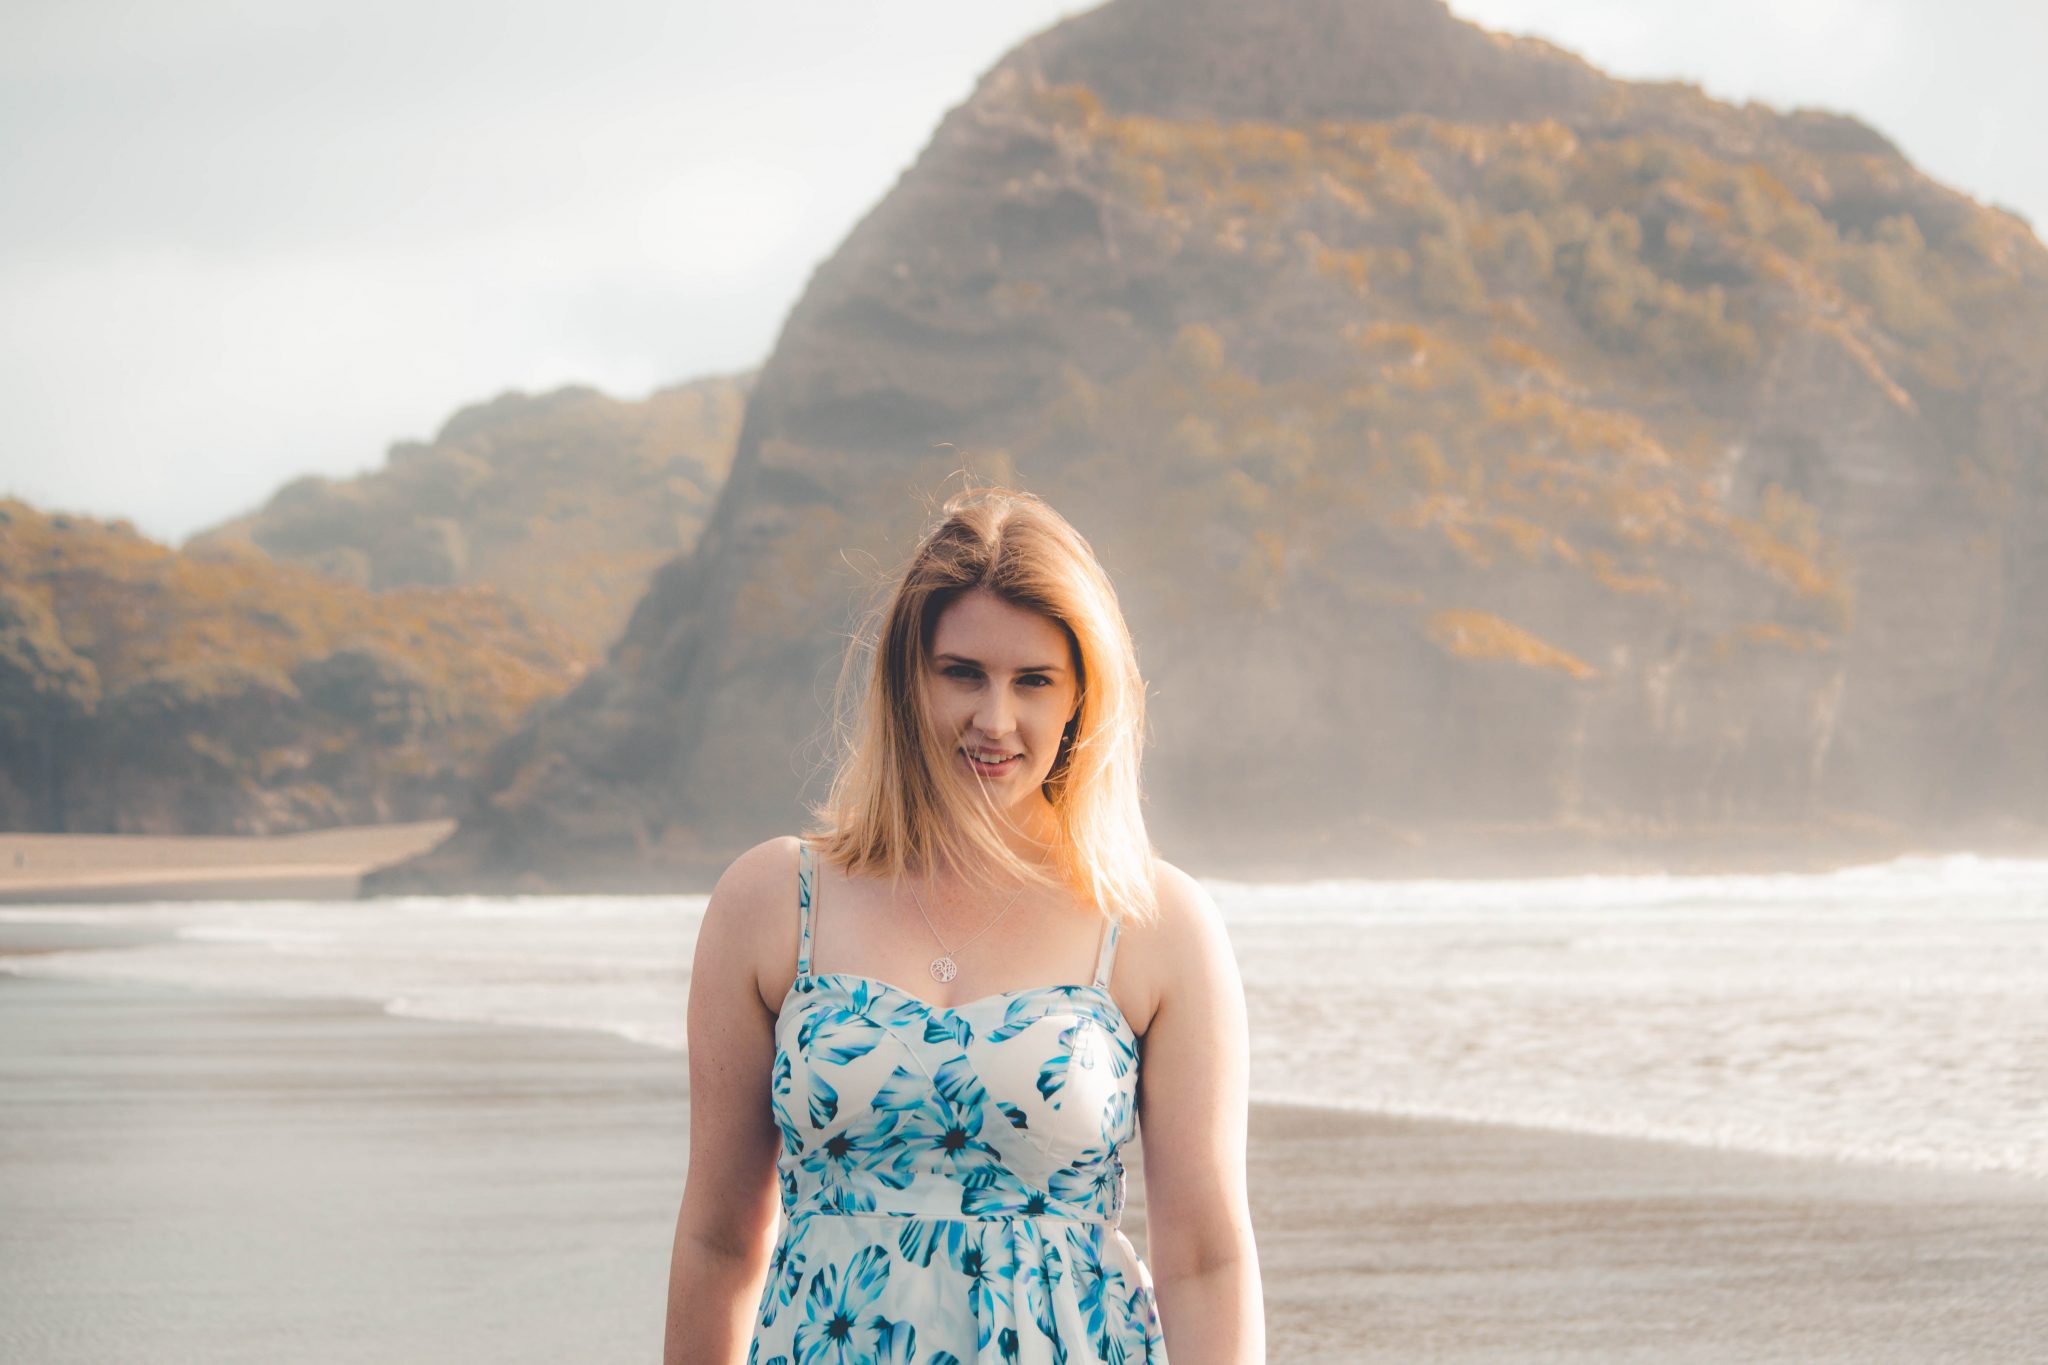
They are how we capture our favorite – and sometimes random – moments so we could remember them later on. It might be a picture of your school friends getting together after years of not seeing each other, an incredible outdoor adventure, or it can be a photograph of a beautiful sunset that you want to remember forever.

Those images we take will always be a part of our lives which is why photography is an art that transcends the limits of time. Contrary to popular belief, it is not an impossible art to master, too. You just need to know the basics, starting with ISO and how to use it.
What Is ISO?
ISO is one of the most fundamental elements of photography, and you have to understand how it works if you want to take better photos. So, what exactly is it? ISO is the part of your camera settings that allows you to control the degree of brightness on a photo. As you learn more about photography, you will understand that lighting is everything when it comes to taking good pictures, and ISO lets you control just that. It determines the level of sensitivity of your camera’s sensor to light, changing the exposure of the image as you adjust it. In other words, it determines how much light is captured by the sensor. By controlling how much light the camera is using for a photograph, ISO allows you to capture images in dark settings.
How Does It Work?
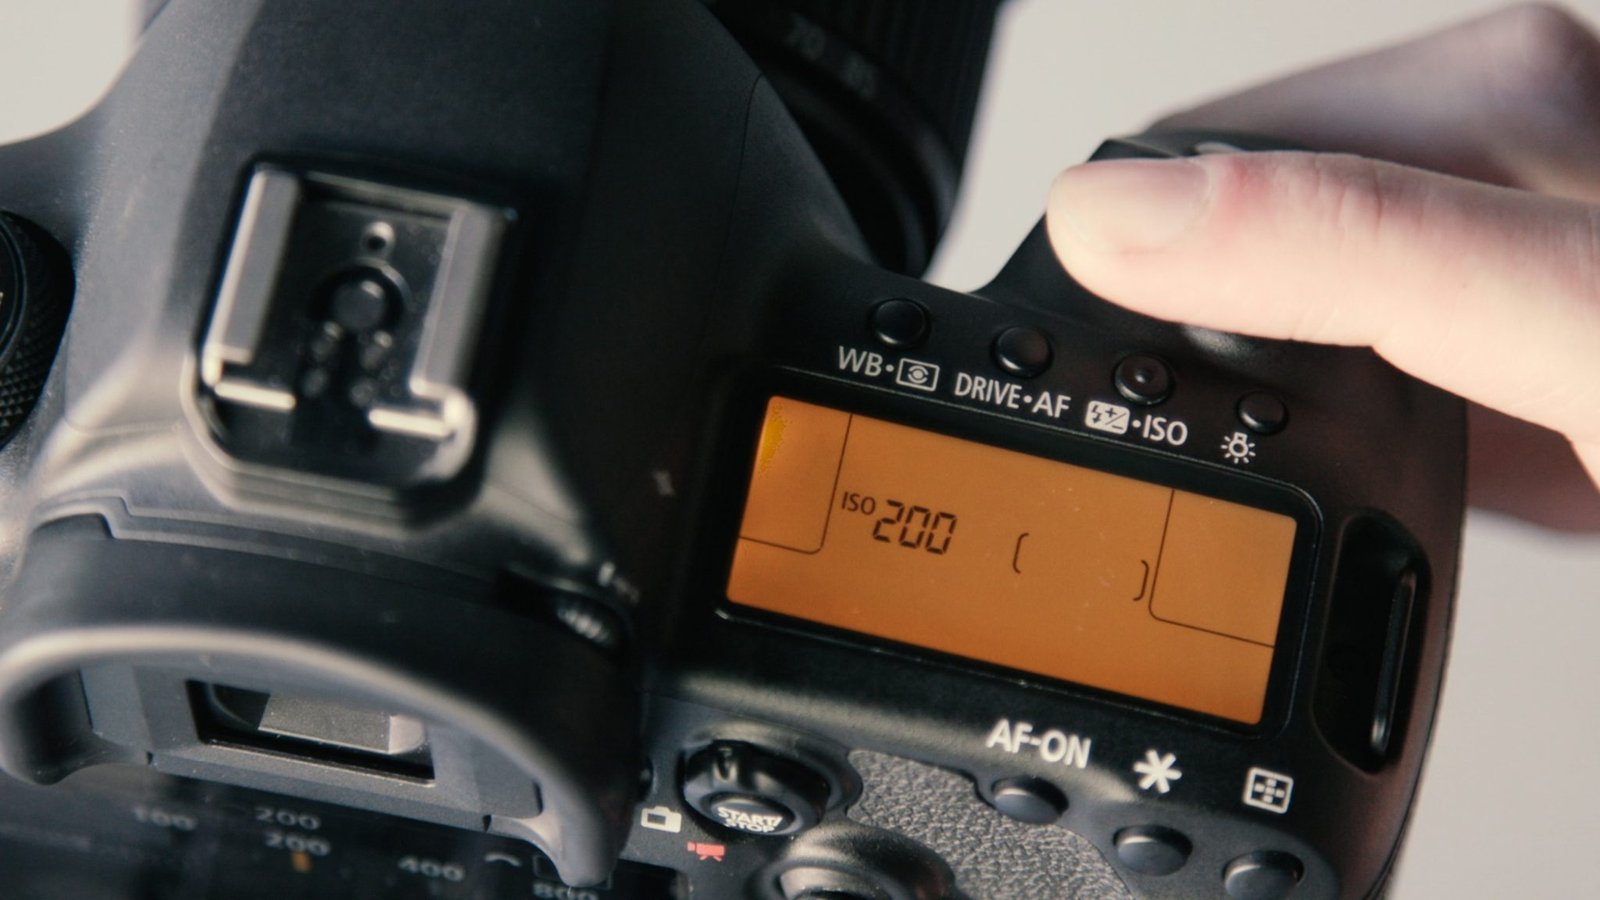
Now that you understand what ISO is, you need to understand how it works so you can use it to take better photographs. But even before that, you should understand the word itself so you could talk like a professional photographer. That means understanding the right way of pronouncing ISO since it is not an acronym like many people believe. It is actually pronounced “eye-so” rather than separately like “I.S.O.” So, how do you use it? Well, ISO is measured along a scale that you can increase or decrease, controlling the degree of light caught by the sensor. Each value on the scale is double the one before it. Take the “pro” settings you get on modern smartphones these days, for example; it’s usually a scale doubling like this: 50, 100, 200, 400, and 800. The scale is obviously bigger for professional cameras, going all the way up to 3200 or 6400 in some cases – giving you greater control over the light.

Using the Scale
The lowest number on the scale indicates low sensitivity to light, and as you go up, that sensitivity to light increases. What does that mean? Low sensitivity to light at a scale like 100 or 200 is perfect for bright conditions so you can avoid having over-exposed photos. On the other hand, a high scale value like 800 or 1600, indicates a higher sensitivity to light which works best for low-light conditions since the camera’s sensor will be able to capture more light to give the image a better exposure.
You need to practice using ISO properly because the quality of your images will depend on it. If the ISO is higher than it needs to be, your photo will be over-exposed, and it will show a lot of grain, which photographers refer to as noise –– which can make the photo unusable. This is why it is important to increase the ISO only when you cannot brighten the photograph using other means like shutter speed and aperture.
Understanding ISO on Your Camera
You now understand ISO and how to use it to take better photos depending on your settings and lighting. You should then learn how to use it on your camera, whether it’s a smartphone or a DSLR. There are often manual and automatic modes. In the latter, the camera sets the ISO depending on the lighting conditions. There are also models with a semi-automatic option where you could change the ISO value if you want. These are settings that you need to study carefully, and learning how they work will take some time, but you will get there. Your smartphone may or may not offer a manual option to adjust the ISO, but it definitely comes with an automatic one.

The important thing when it comes to photography, in general, is to keep practicing. The more photos you take in different lighting conditions, the better you will understand how to use ISO to take high-quality images. Try both nighttime and morning photography to understand the difference, and soon enough, you will be able to use the ISO proficiently.