Are you looking to make your nails stand out with a unique and creative design?
With the right tools, inspiration, and practice, it’s easy to start giving yourself an eye-catching manicure. From using vibrant colors and shapes to crafting 3D designs, so many techniques are ready for you to try.

So if you’re ready for something beyond the basics in nail art, why not dig into this world of creativity today? In this article, we will share our top tips on how to get started with fantastic nail art designs that are sure to turn heads.
Understanding the basics of nail art – types of tools and supplies you’ll need
Diving into nail art’s captivating world can be exciting and overwhelming, especially when you’re just starting. Fear not, novice nail enthusiasts, by understanding the basics of nail art tools and supplies; you’ll be on your way to becoming a pro in no time. Firstly, arming yourself with various brushes is crucial, as they become an extension of your artistic flair, providing the precision and control needed to create stunning designs.
Invest in high-quality nail polishes and adhesives to make your nail art last longer and look more professional. Remember cuticle care. A cuticle pusher and nourishing oil will ensure your nails are always in prime condition, ready for your next masterpiece. And, of course, let’s not overlook the magical world of embellishments: glitters, decals, and rhinestones can upgrade your work from simple designs to eye-catching wonders.
Learn about different nail art designs, from easy to complex
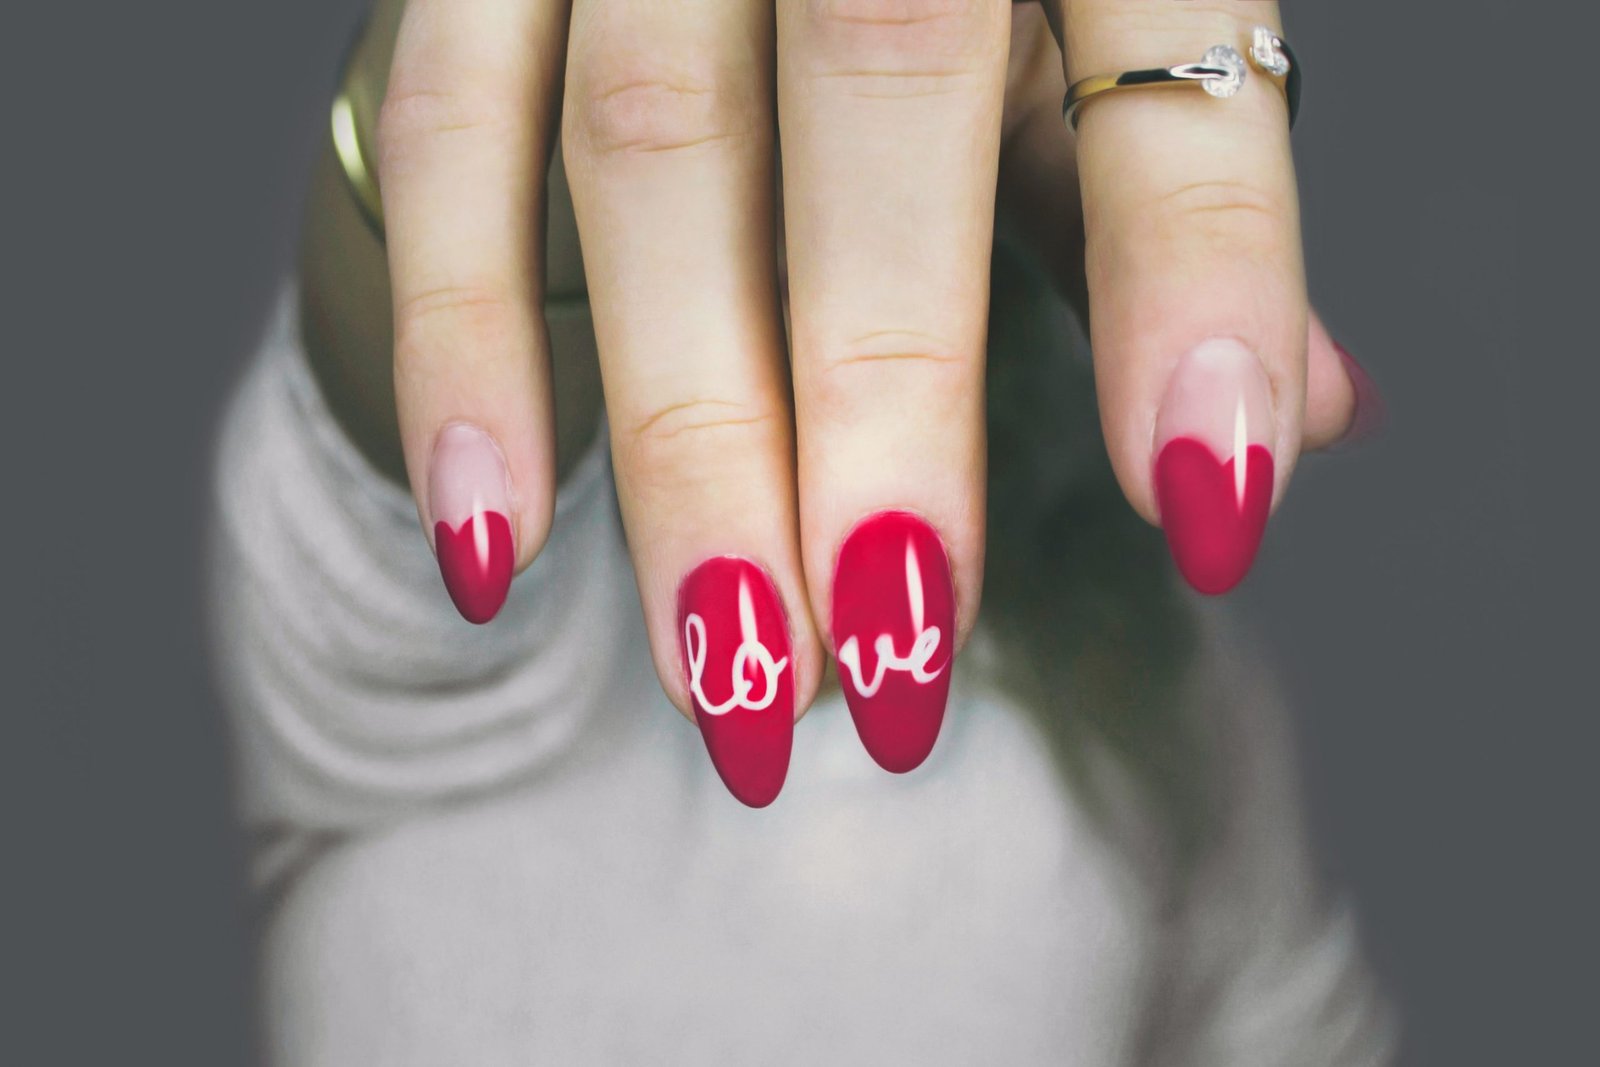
Nail art designs can range from simple and minimalistic to complex and intricate. You should start with the basics like stripes, polka dots, or zig-zags before progressing onto more advanced techniques such as water marbling, ombre effects, nail stamping, and even 3D art.
And don’t forget the power of black nail polish – black can be the perfect canvas for on-trend designs like dotting, rhinestones, and edgy shapes. For inspiration, check out our list of seven creative nail designs that you can easily master over time:
- Stripes
- Polka dots
- Zebra print
- Ombre effect
- Water marbling
- Nail stamping
- 3D art
These are great starting points as they can be matched with any outfit and are simple enough to do on your own. As you become a pro at these techniques, why not explore more complex designs, such as half-moon manicures and dazzling glitter effects?
Exploring a Career in Nail Art
If you find yourself captivated by the world of nail art and have a passion for creativity and detail, you might consider taking your interest to the next level and becoming a professional. To become a nail tech, you’ll need to complete a certification program, which typically includes both coursework and hands-on training. This profession not only allows you to express your artistic abilities but also provides the opportunity to work flexible hours and build a loyal client base. Moreover, the demand for skilled nail technicians is consistently high, making it a lucrative career choice. By mastering various techniques and keeping up with the latest trends, you can turn your passion into a fulfilling and rewarding career.
Step-by-step instructions for creating an ombre design
If you’re ready to take your nail art game up a notch, why not try an ombre design? Ombre nails are a popular choice as they look good on any length and shape of nails. They create a beautiful gradient effect that is both subtle and eye-catching. Here’s how to get started:
To get the best results, start by filing and shaping your nails. After that, apply a layer of base coat and let it dry before any other step. Then you’ll want to choose two colors for your ombre effect – starting with the lightest color on your thumb, gradually increasing the darkness of the shade as you move towards your pinky. Once you’ve chosen your colors, dip a makeup sponge into each nail polish separately before lightly dabbing the sponge onto your nails in an up-and-down motion from one side to another.
As soon as you think they look good enough, seal them with a topcoat so your design will last longer. And there you go – beautiful ombre nails. You can create a beautiful ombre design that will turn heads with just three easy steps.
Tips on how to make your designs last longer
If you’re planning on wearing your nail art for a few days, there are some tips and tricks to ensure it looks perfect. Firstly, always start with clean, dry nails. It will help the nail polish adhere to your nails better and last longer. Apply a thin layer of base coat to protect your nails, and use cuticle oil or a clear topcoat daily to help keep your manicure looking fresh. If applying nail polish with an adhesive such as glue or tape, ensure the surface is dehydrated before placing it on the nail.
Finally, give yourself a few minutes after each layer of polish to let it dry before moving on to the next one. It will help reduce chipping or smudging and make your nail art designs look flawless for longer.

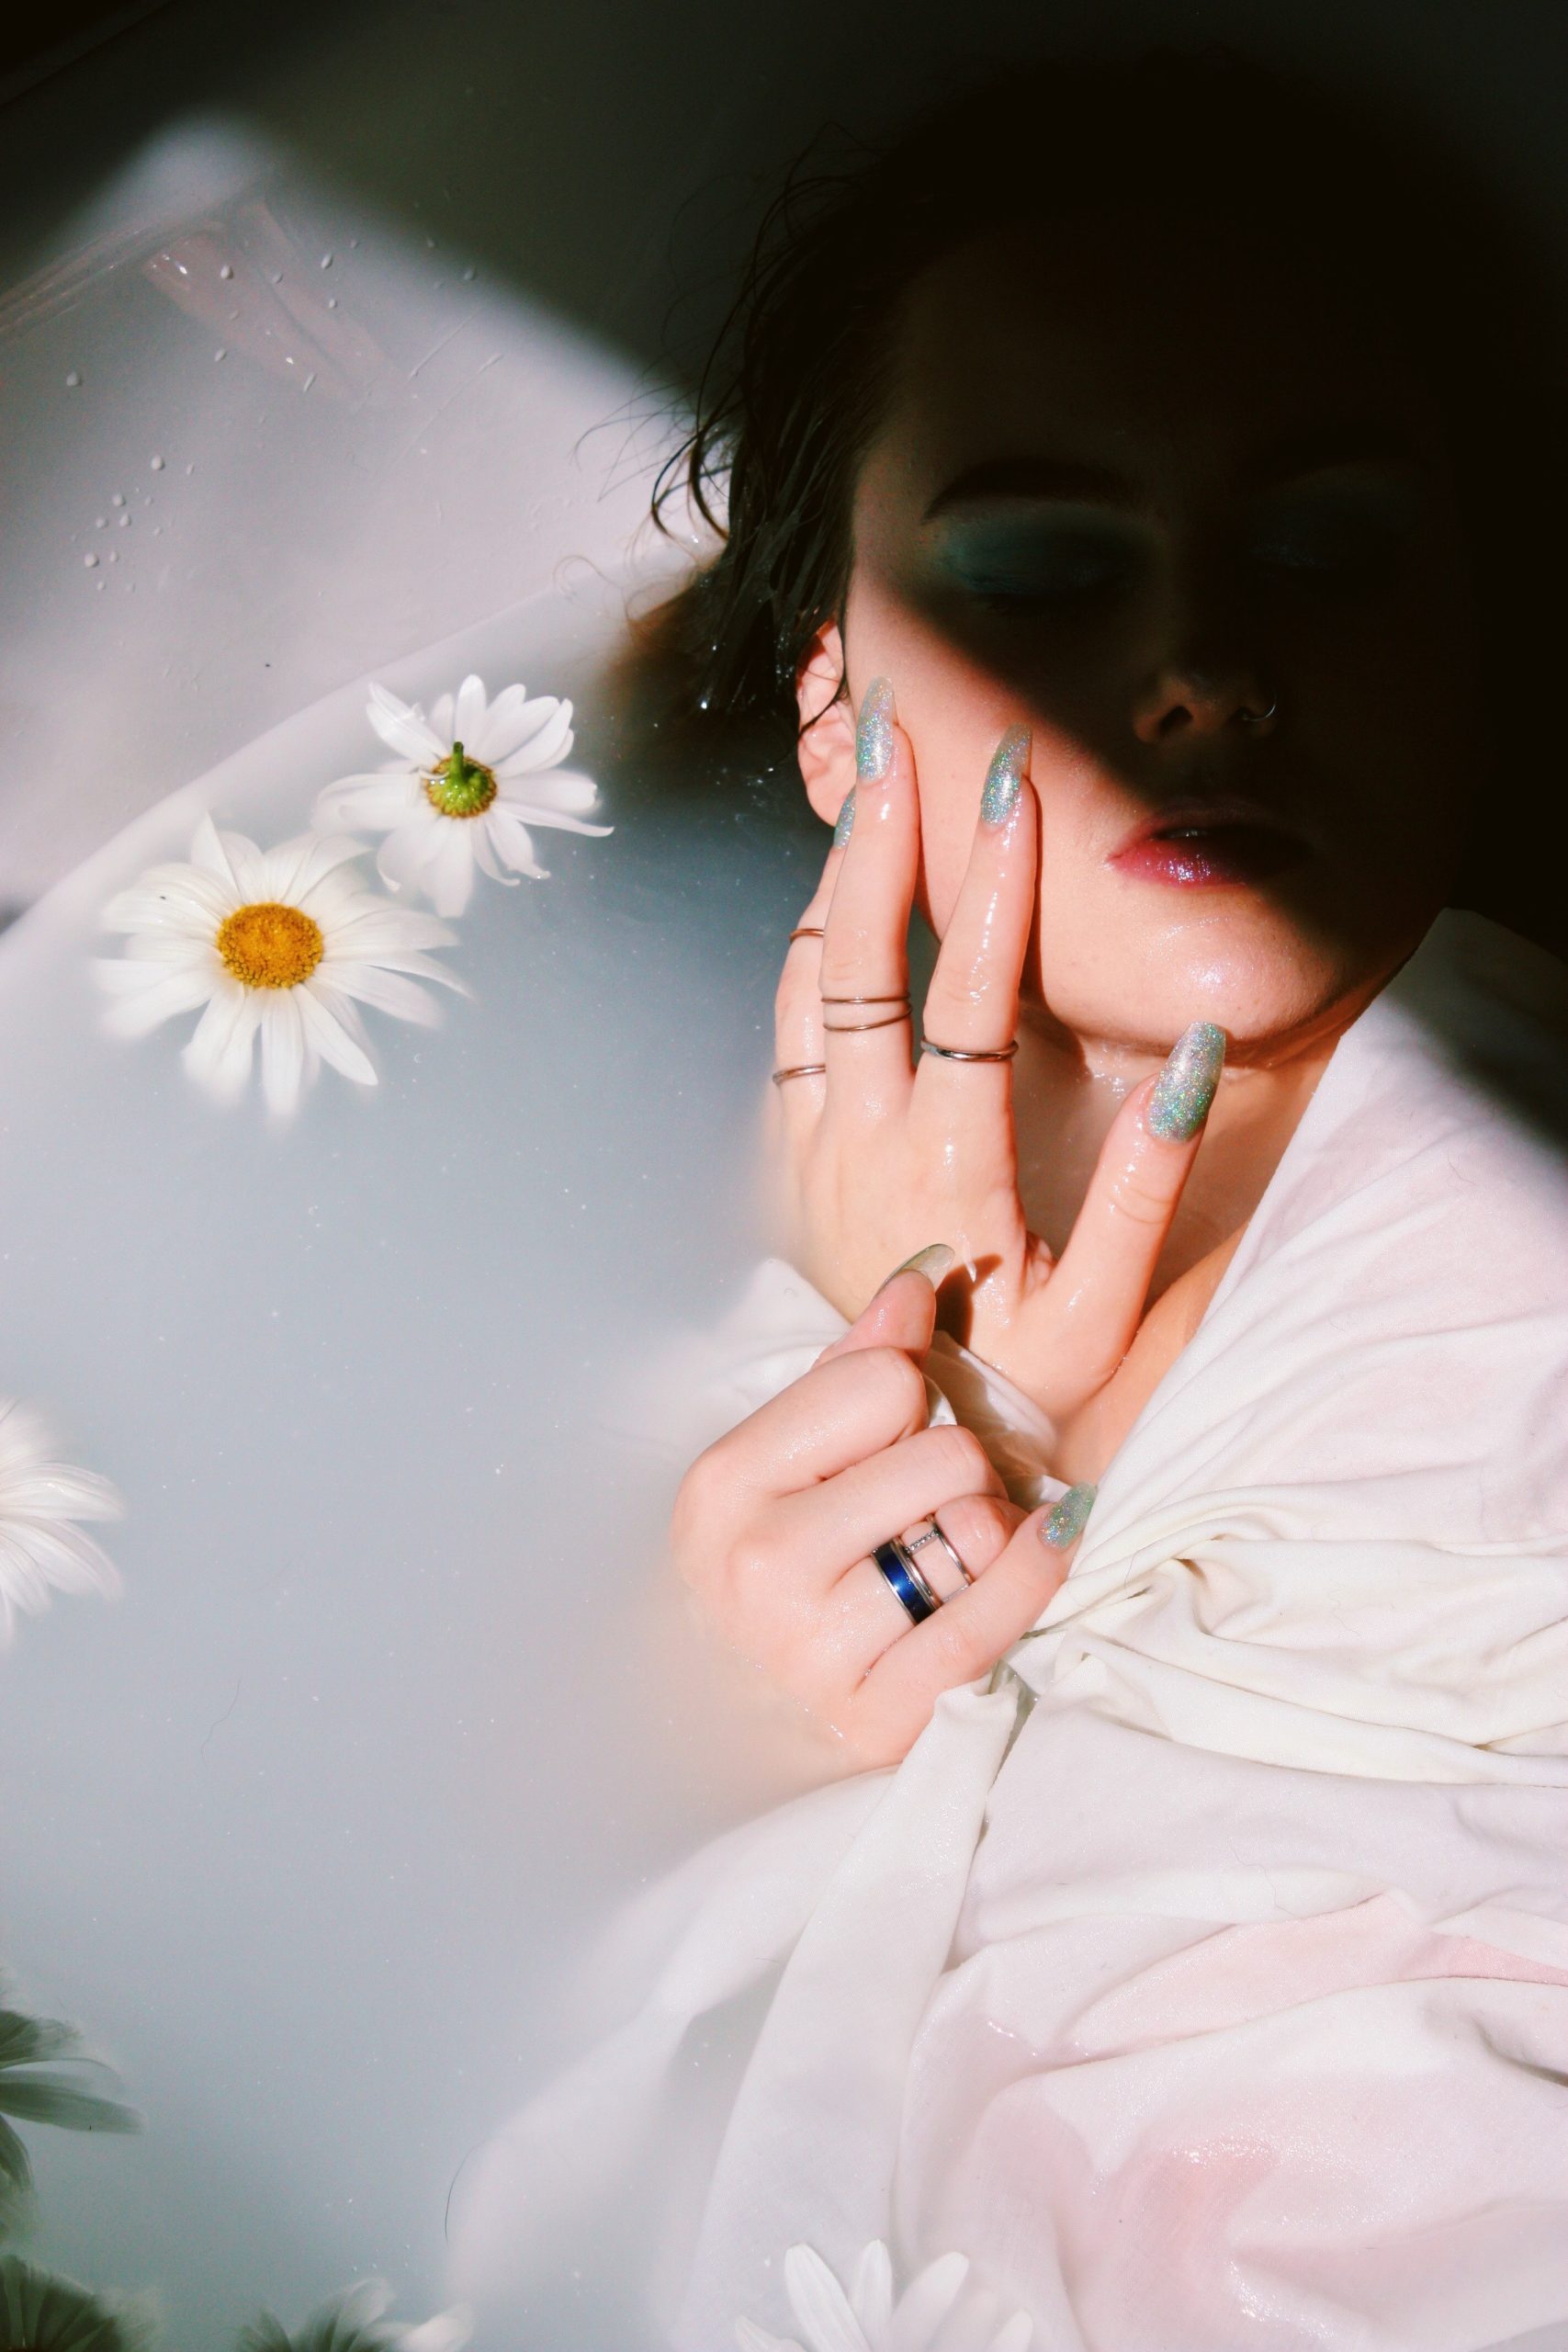
How to style your nails with accessories like gems or rhinestones
Embellishments like gems, studs, or rhinestones can instantly elevate any nail design. Whether you add a single statement stone or bedazzle your nails with an elaborate pattern of crystals and decals, this will surely make your nail art stand out from the crowd.
Before adding embellishments to your nails, ensure they are dehydrated, as this will help them stay in place longer. If needed, apply a layer of top coat before adding the stones to ensure they stick better. You’ll also want to wait until the topcoat has dried before placing the gemstones onto your nails – pick them up with tweezers and gently dab them into place.
Once you’re done, seal the design with another layer of topcoat to help your embellishments stay in place for longer. With these simple steps, you can easily create stunning nail art designs that are unique and sure to draw attention.