Achieving eye makeup looks that complement your features doesn’t involve rocket science.
All you need are the right tools, various eye makeup products, and of course, a little bit of know-how. So, check out this guide to creating eye makeup looks that suit many occasions—and your personality.
Parts of the Eye
First off, to achieve a polished eye makeup look, you need to know the parts of the eye. Why? When you watch a tutorial or experience a makeover, the influencer or artist will use that same terminology while explaining various techniques. Granted, you get a visual, but knowing these terms helps you to better understand and remember once you start creating your own eye makeup looks. These include:
- The upper lash line—where your eyelashes grow along your upper eyelid
- The lower lash line—just below where the low eyelashes grow
- The outer corner—the outer part of the eye
- The inner corner—the inner part where the tear duct is located
- The outer V—the area that starts from the outer part of the upper lash line and ends at the crease
- The waterline—the rim between your eye and your lower lashes
- The crease—the area just above the eyelid
- The browbone—the bone between the crease and the eyelid
So now, making the connection between the instructions that tell you which product goes where, you can start looking at other necessities for using a variety of techniques.
It’s also important to know what to use when taking it off. A high-quality Dermalogica eye makeup remover will come in handy for removing all traces of eye makeup without irritating the sensitive skin around the eyes. This is an essential part of any beauty routine, ensuring that your skin stays healthy and clean.
The Right Tools to Perfect Your Eye Makeup Looks
Along with a familiarity with the eye area where your makeup will be applied, you need to have the right tools ready to go. The basic gear include:
- An eyelash curler—to make lashes of any length stand out
- Primer or translucent powder—to add staying power to your eye shadow
- Brushes of various shapes and sizes—to apply and blend
- Cotton swabs—to “clean up” any accidental errors in application
Concerning the brushes, you can always keep two or three on hand, like a wide brush for applying primer or powder or an angled brush for blending in the outer or inner corners of the eye. However, you might keep in mind that the more brushes you have, the more eye makeup looks you can achieve.
Easy-to-do Eye Makeup Looks
The following techniques prove to be simple while others might take a bit more practice. Nonetheless, each mini-tutorial involves strategies that are easy to grasp and duplicate. And speaking of grasping, go ahead and grab your brushes and products and choose which look you’d love to try the most.
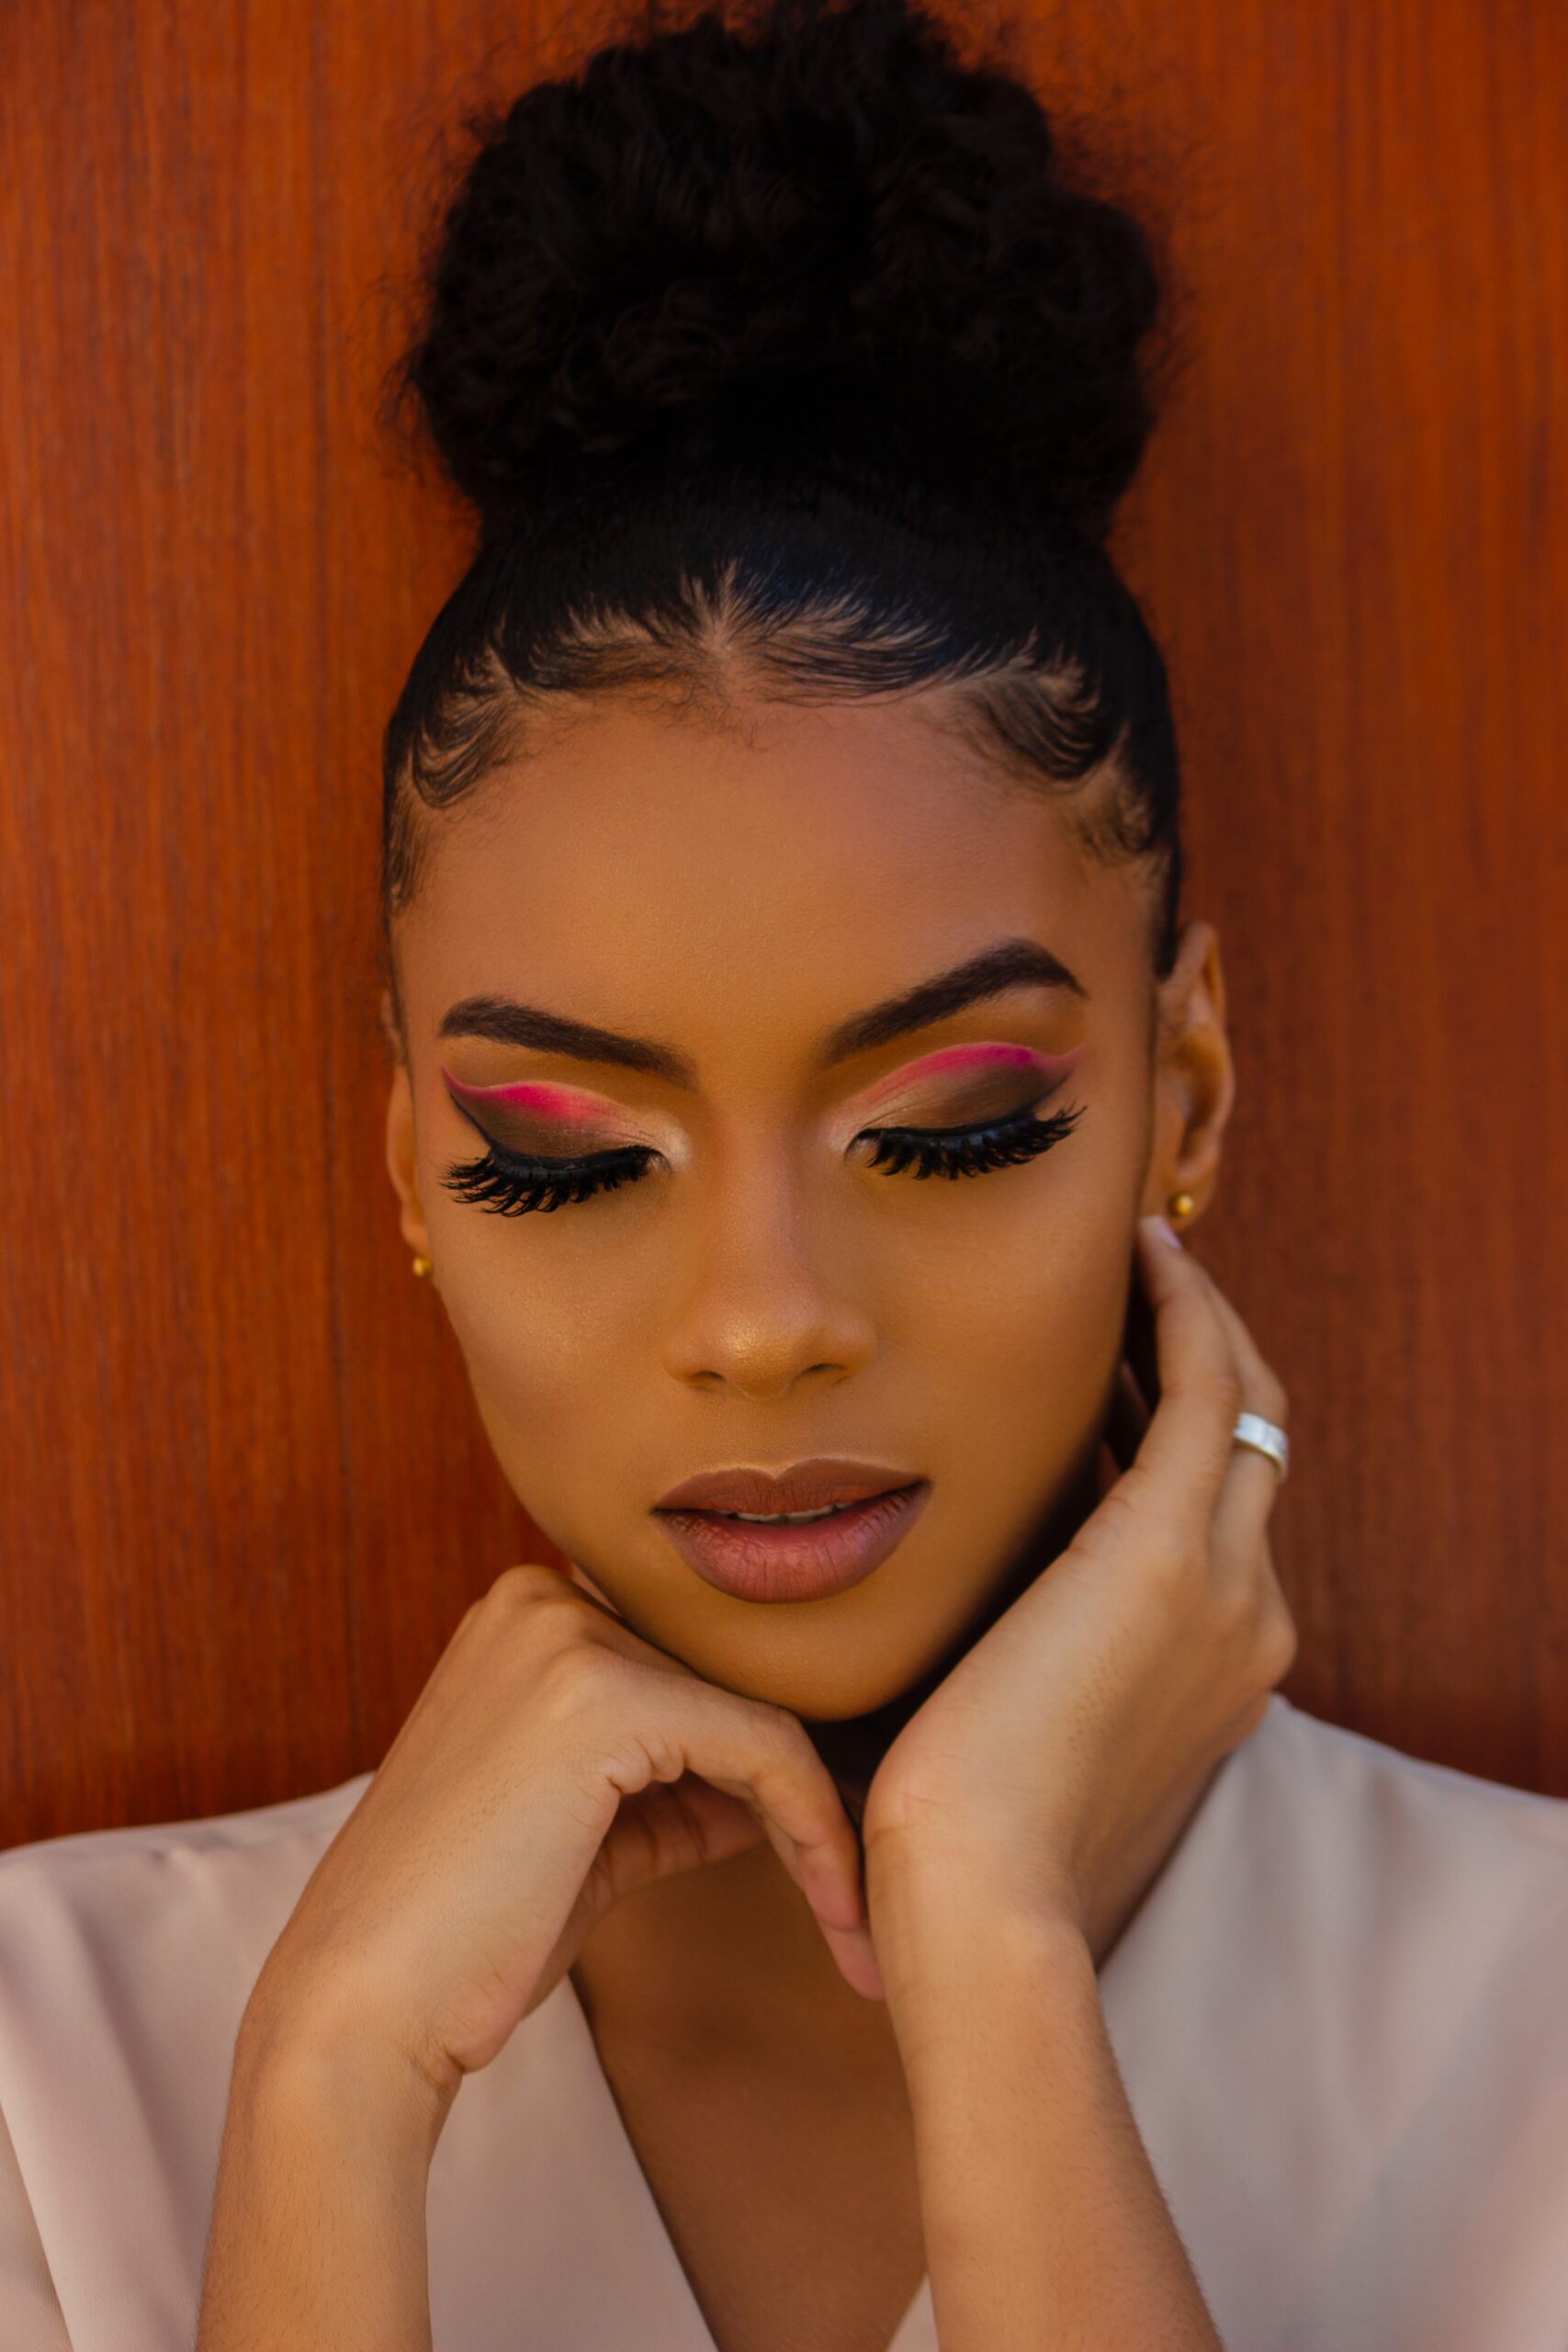
The Natural Eyeliner and Shadow
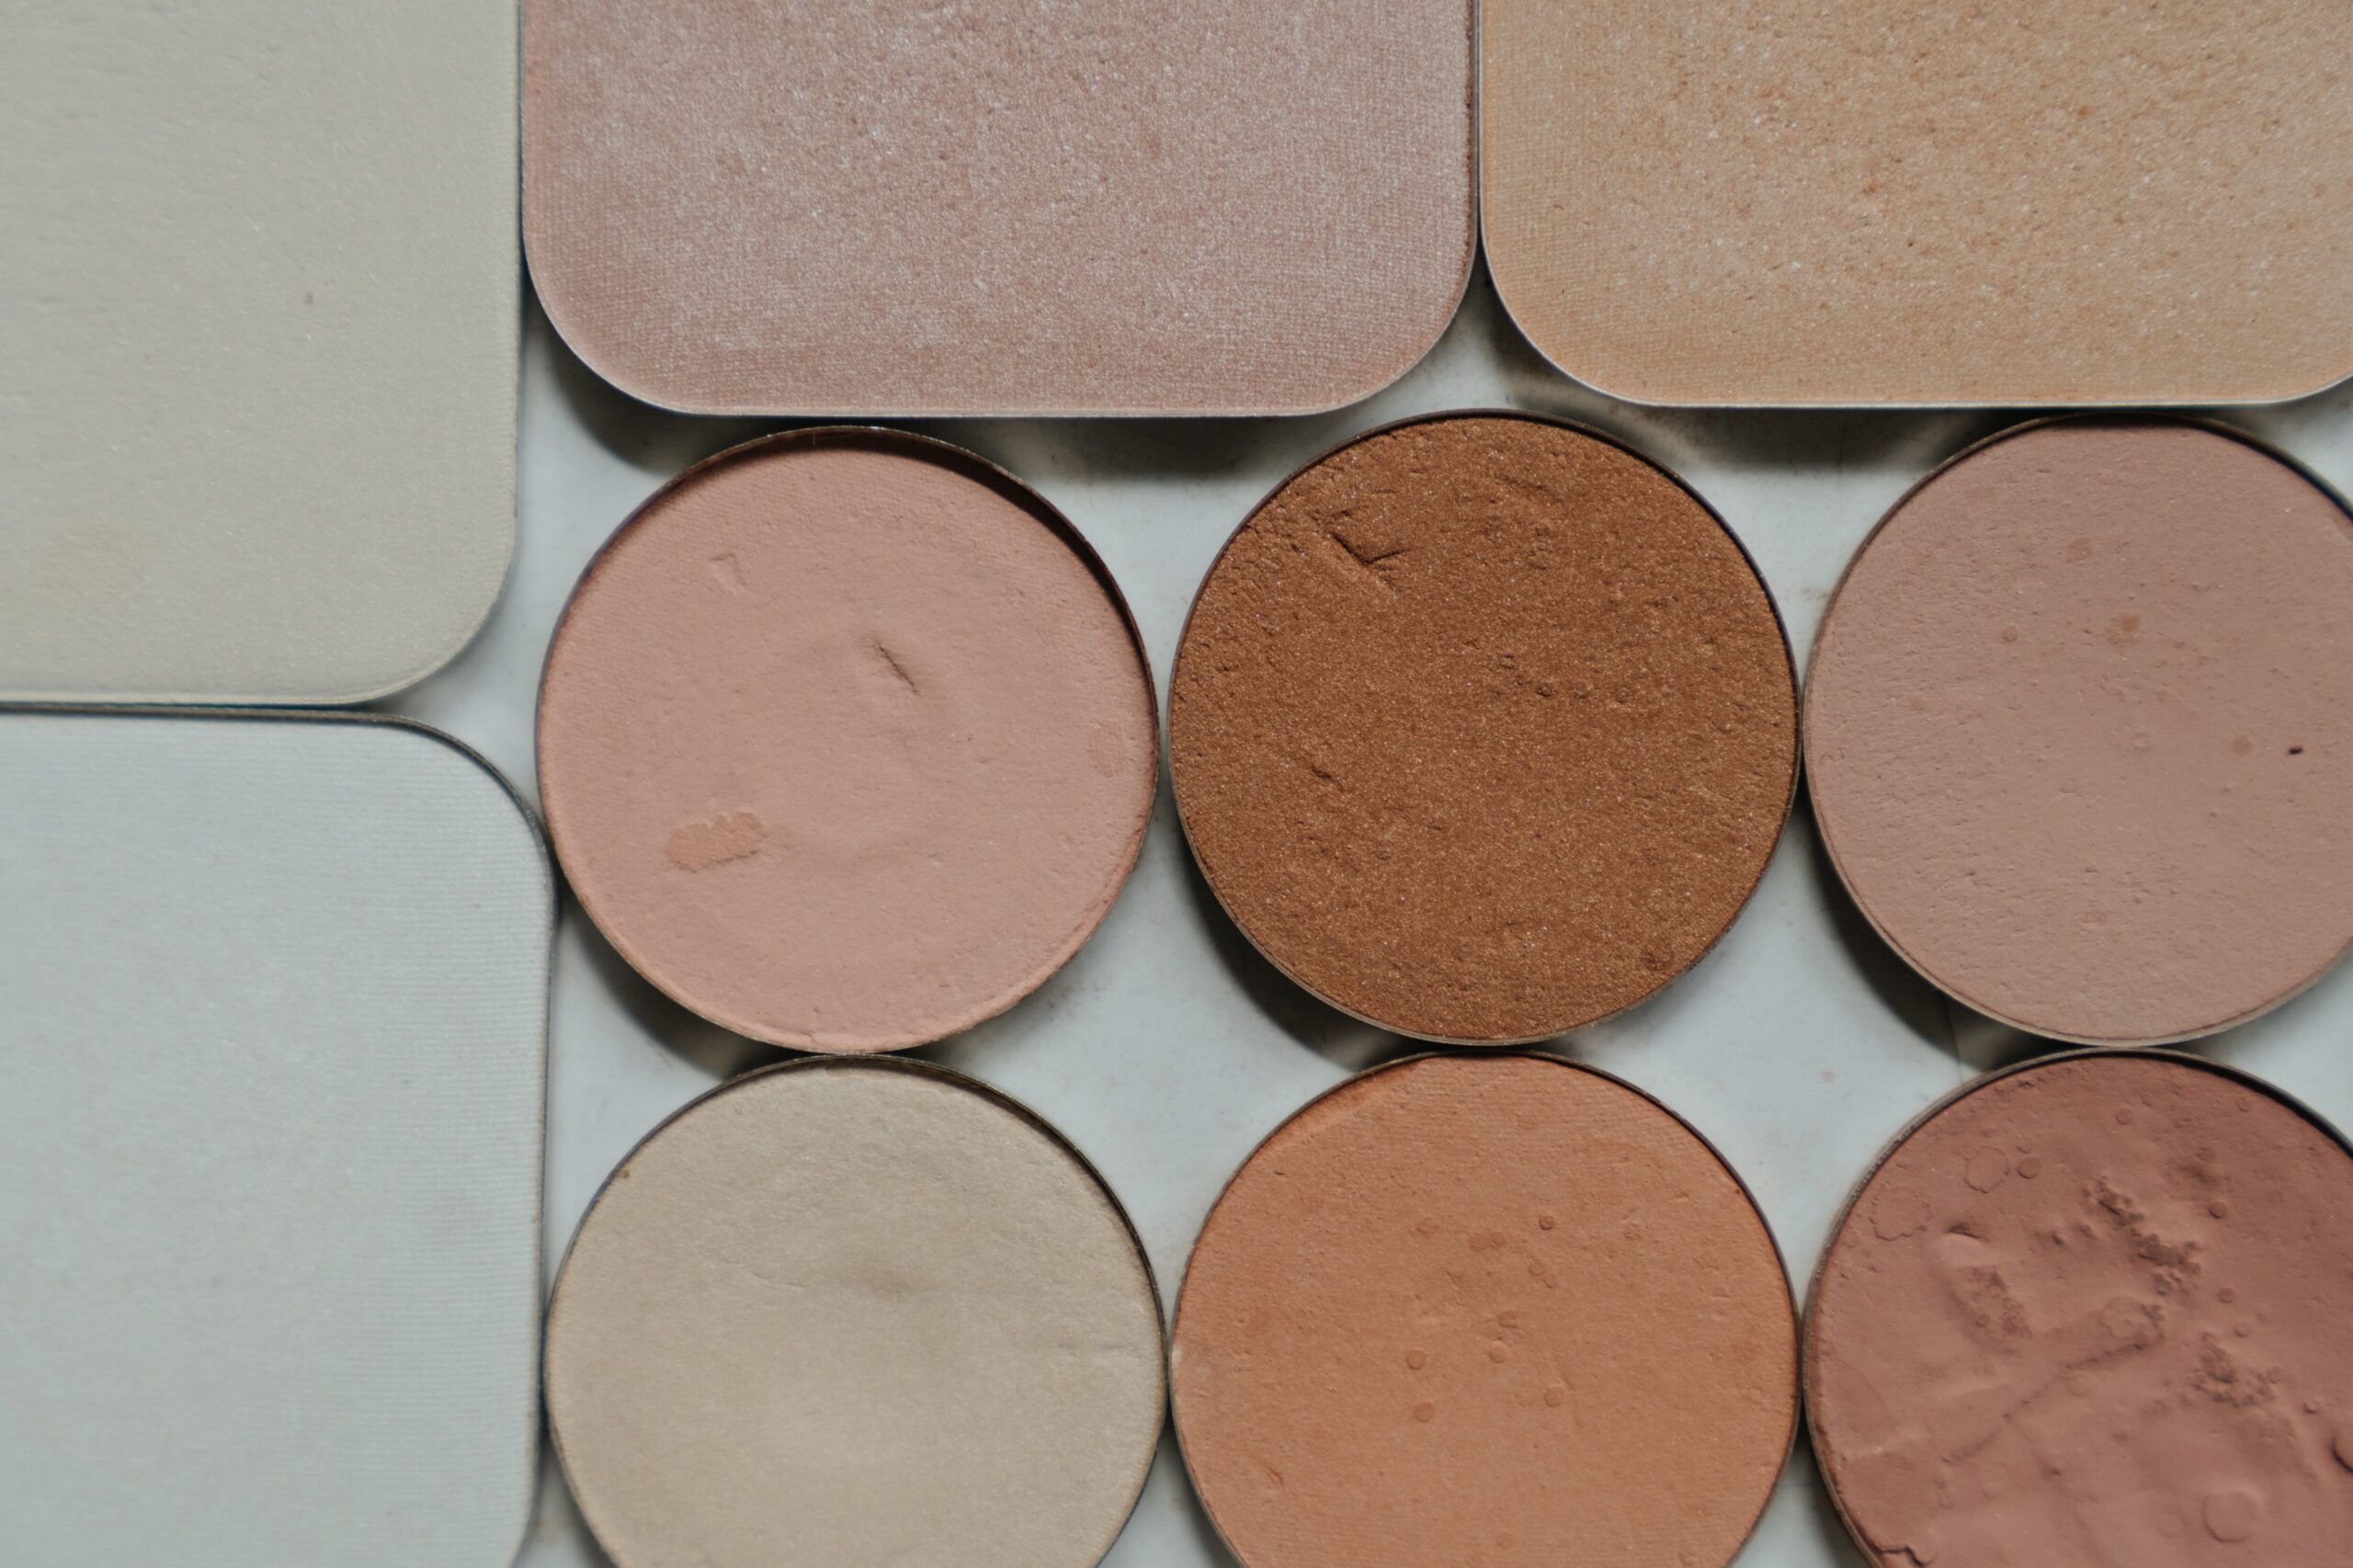
We’ll start with an easy, natural look that requires a neutral palette. First, you apply the primer with a wide brush and blend completely up to the brow bone. Second, taking a basic sponge eyeshadow applicator or a basic brush, you’ll apply a light shade, like beige, across your lid. In the next step, use a warm shade, like brown, and apply it on the outer corner by tapping it. Next, either using the same brush (after a thorough cleaning), blend in the brown from the outer corner toward the crease using a circular motion. After that, take a tapered brush and apply a strip of light beige, or crème just below the eyebrow. After wiping off the brush, blend it into the other shades lightly.
For lining, which usually comes last before the mascara, you’ll use ultra-thin, black eyeliner across the upper lash line. For the lower lash line, you’ll add a shining neutral color from the inner corner to the middle. From there, you’ll apply the same brown to the outer lower corner. Finally, curl your eyelashes and brush on some mascara.
Classic Cat Eyes
The technique, known as the cat eye or winged liner, suits any evening look. Basically, you’ll follow the same directions above, but for a more dramatic eye makeup look, try using a palette of shades of gray, dark blue, or darker shades of brown. Another idea entails the incorporation of the smoky eye look. On the other hand, you can also achieve a more downplayed version of the cat eye by blending a neutral shade over the entire eye and let the eyeliner and your lashes do the talking.
Once you’ve applied and blended in your eye shadow (optional), pay particular attention to the eyeliner. For this effect, a thin black pencil works best as well as a liquid eyeliner that can be applied with a thin brush. First, you start with the thin pencil and draw a line starting just beyond the outer corner and ending in the middle of the upper lash line. Then, you’ll draw another thin line from the upper, outer corner to the end of the first line (also known as the wing). The finish involves a coat of liquid liner directly on the pencil line. If you think you need a second coat, then make sure the first one has dried completely.
All in the Lashes
What if you draw more attention to your eyelashes and focus less on the shadow? The impossible has become possible if you have a shimmery or icy shade on hand. Depending on your skin tone, champagne, gold, or beige would work. The light shades serve well in emphasizing your lashes. So, take a contour brush and apply and blend along the upper lash line. Next, apply the same shadow on the outer V to draw a sharp contrast between the light shade and your lashes. Then, apply a thin line of black liquid liner to the upper rim. This will give the illusion of thicker lashes. For the lower lid, you’ll use a smudge brush to apply a line of matte black shadow. You can also look into lash extensions at Lashicandy to get additional volume.
After you’ve finished with the shadow and liner application, you’ll apply the first coat of mascara by moving the wand from root to tip to both the upper and lower lashes. Next, apply a dusting of translucent powder to your eyelashes. This allows the coat (or coats) to stick more easily, thus adding depth and thickness to your lashes. After you apply the second coat, you’ll see the difference.
Now, remember that these basic techniques serve as the foundation for any future eye makeup looks that you choose to create. Some hacks to keep in mind include:
- Switching the color scheme for the “Natural Eyeliner and Shadow” look. Darker colors appear to be more dramatic while lighter shades work well for daytime.
- Having some fun and altering the cat-eye look, you can replace the black liner with an electric blue or mint green.
- Trying a similar alternative with the dramatic lashes and replace the black mascara with blue or any other bright hue.
With these strategies, you have limitless possibilities. Practicing makes up half the fun, and in no time at all, you’ll invent your own combinations that bring out your most prominent feature—your eyes.